Creating a Private Course Catalog
If you offer products designed for specific users, such as an exclusive selection available only to a particular group and hidden from your public course catalog, we provide a way to restrict those products to a dedicated catalog page. This article will guide you through creating a page specifically for those products and excluding them from your main course catalog.
Step 1: Create the Product
First, you'll need to create a product(s) for the course(s) that you want to offer. Check out this article for all the details there! Once you have created the product, be sure to note the Product ID as listed on the product listing page. Note that if you have several products that you want to show on this new product listing page that we're building, you can opt to use product categories. See this article for more details on product categories on the course catalog.
Step 2: Create a New Course Catalog Page
Once that's been done, create a Course Catalog page that will show just that product or category of products using the steps here:
-
Go to Pages & Menus > Pages.

-
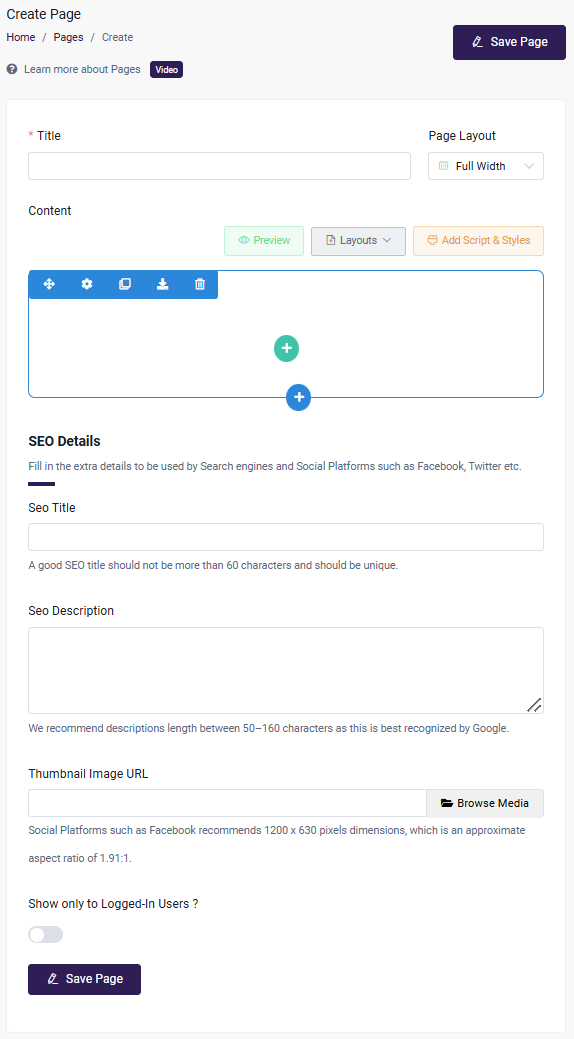
Click on Create Page, and enter a title for the page.
-
You can choose to load a layout. With this, you can simply select our Product Listing layout so that it will look like the regular Course Catalog, yet you'll be able to pick what Products show. Do this by selecting Layouts > Load Layout > Product Listing.
-
Double click the gear icon on the top grey block that says Text if you want to edit the text entered.
-
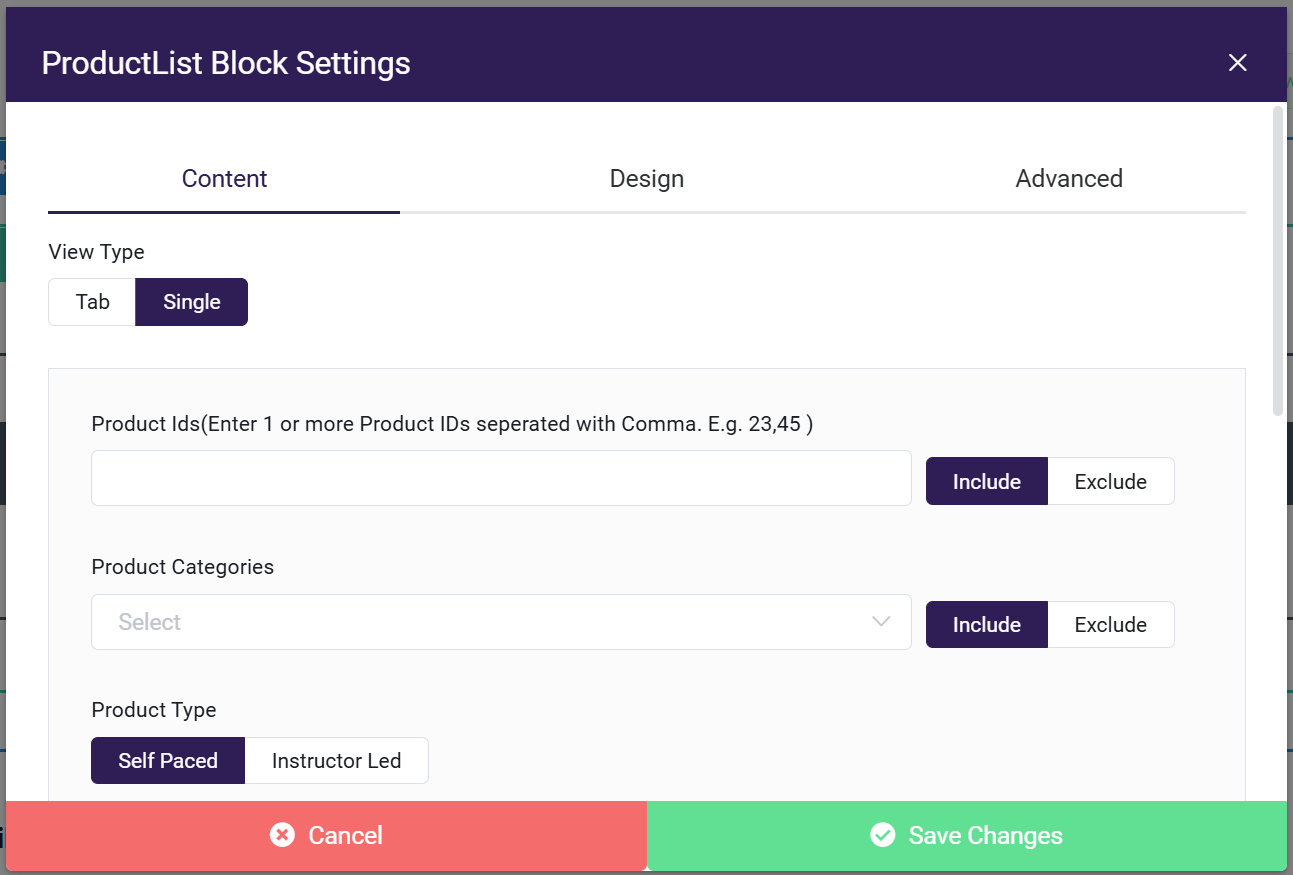
Now, double click the gear icon of the second block that says Product List. Here is where you will choose what products are shown. Enter the Product ID(s) from Part 1 under the section that says "Product Ids". Click Save Changes. If you're using product categories instead, you can choose the category under the "Product Categories" heading so that the page will only show those categories.
-
You can preview the page by clicking Preview in the upper right.
-
Once you have finished the page, click Save Page.
-
After the page has been saved, you'll see that the Slug (URL) will show on the edit page. This is the URL you'll be able to share for this new course catalog page.
As a reminder, pages aren't automatically added to a menu. You can add the page to a menu using the steps here. If the page is not added to a menu, the only way a user will be able to be access it will be via that URL, which creates a private experience with only that specific product(s) showing.
Step 3: Exclude Products from Main Course Catalog
Lastly, you will want to be sure to exclude the product from your main course catalog.
- Go back to Pages & Menus and Pages. Click on the Product Listing page.
- Double click the Product List block on the gear icon . Enter the Product ID(s) toggle Exclude button to exclude the products from showcasing. Same goes for categories. Save the changes.
- Preview page if you wish, and then Update Page to save the changes to the page.