Customizing Branding
To seamlessly align Academy of Mine with your company’s website and branding, you can customize the platform by adding your logo, choosing a color scheme, applying custom styling, and more. By tailoring the platform’s appearance to reflect your business identity, you create a cohesive experience where students feel like they are engaging directly with your brand.
You will find the Branding option in the sidebar menu.

Site Logo
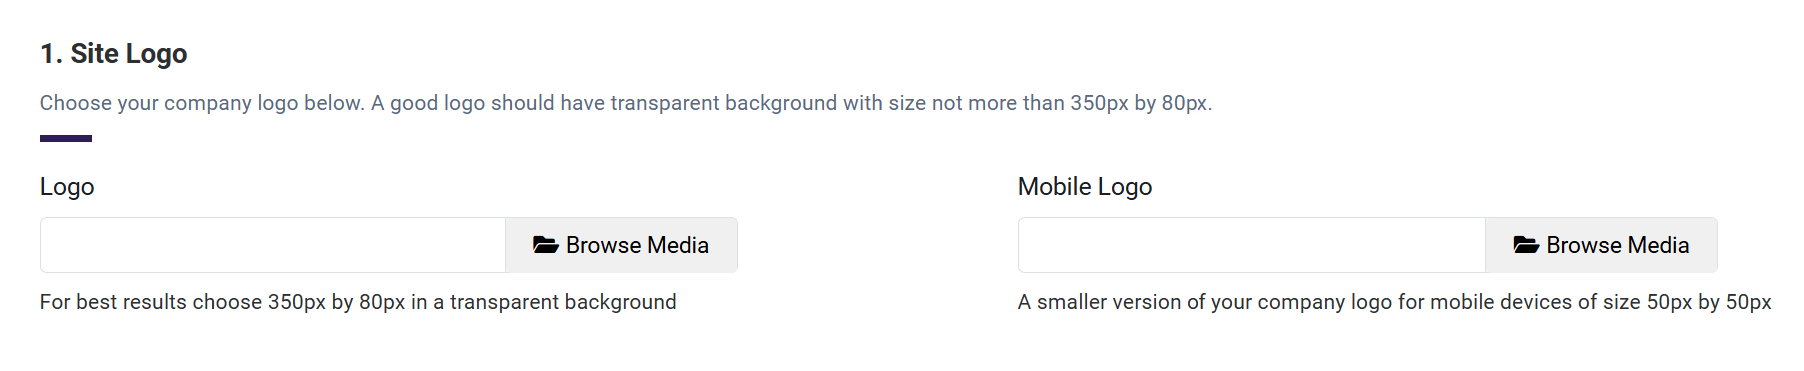
Your site logo is prominently displayed across the platform in various locations, including the header of all pages, the dashboard, the login and registration pages, and in all automated emails sent from the platform. Additionally, you can upload a mobile logo that replaces the main logo on smaller screens, ensuring your branding remains consistent and visually optimized on all devices.
For example, here is the logo:

And the mobile logo:

Adding your logo and mobile logo
To add your logo, follow these steps:
-
From the Admin Dashboard, select Branding, and then choose Logo & Colors.
-
Click Browse Media next to the type of logo you want to add (logo or mobile logo).
-
Use the Choose/Select option next to the desired file if your logo has already been uploaded to the media library.
- If your logo is not already in the media library, add your image by dragging your file or selecting Upload Media. Once the file has been uploaded successfully, it will be listed in the Media Library, and you can select it using the Choose/Select button provided next to the file.
- The recommended dimensions for your main logo are 350px by 80px and 50px by 50px for the mobile logo. We also recommend using a transparent background for your logo image or making sure that the background of the image does not clash with the body background color, which you can also select on the Logo & Colors page.
-
Click the Save Changes button when you are done!
Brand Colors
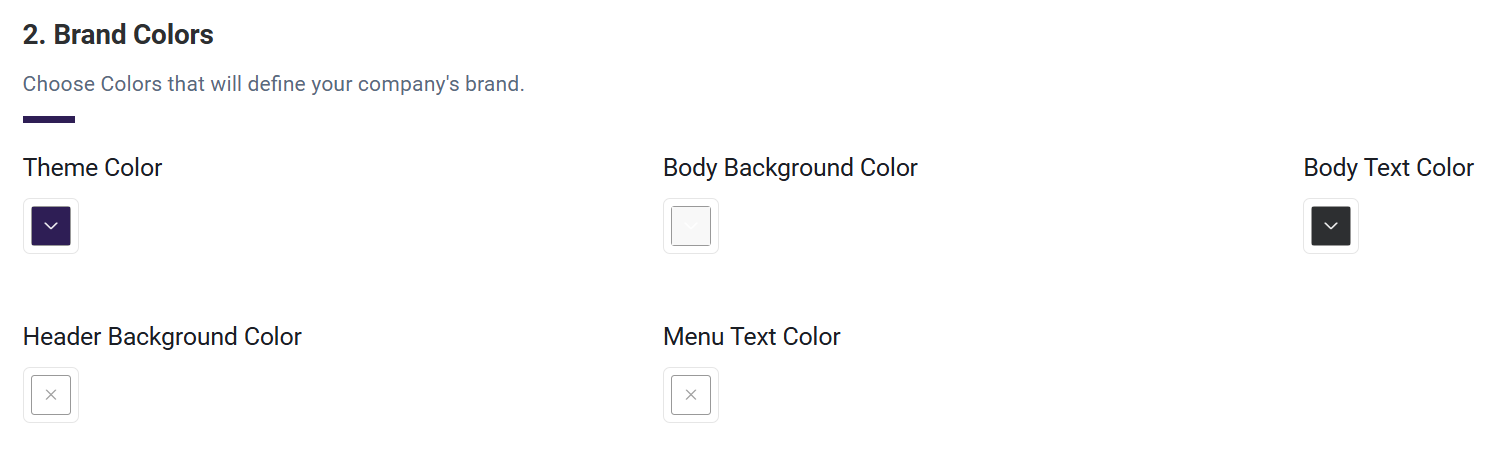
It is also possible to customize the colors of your platform to better match your company's branding and it's one of the first things we recommend that clients do. There are several colors you can choose to customize: theme color, body background color, body text color, header background color, and menu text color.
- Theme color will be the main color to accent your platform. This color will be used in a variety of locations, including on buttons, the dashboard, in text links, progress bars, and as the header color inside the Course Player. By default, this will be Academy of Mine's purple theme color. Also, you will see "plain" colors across the platform for secondary buttons. That will essentially be the lighter color of the theme color you select here.
- Body background color will act as the background color across your entire platform. For better readability, we recommend a lighter color, and most clients actually choose to keep it set to the default selection.
- Body text color will be the main text color across your entire platform. We recommend a darker color that will work well with your body background color. In most cases, some shade of dark gray to black works best for most of our clients.
- Header background color will be the background of the header at the top of your pages. If the background of your logo is transparent, keep this in mind as the header background will fill in the background of the logo.
- Menu text color will be the color of the text on the menu bar.
Customizing Colors
To customize brand colors and the theme color, follow these steps:
- From the Admin Dashboard, select Branding and then choose Logo & Colors.
- Click the arrow icon on the color option that you'd like to update and then select the theme color from the color picker. Alternatively, if you know your branding's hex color code, you can enter it under the color picker. Be sure to click the OK button to set the theme color.
- Repeat for other colors options if necessary.
- Click Save Changes when you're done.
Brand Text

Brand text will be displayed in the headers and footers of all of your site pages. This information will be publicly available if your site is public-facing.
For information on how to create and manage your site pages, review our Introduction to Site Pages article.
The brand text options available to customize are:
- Top bar email will be displayed on your site pages header which will display as a mailto link on the page. This email address is optional and you can leave it blank if you do not wish to share this publicly.
- Top bar phone number is added to the top navigation header of the site pages, although you can also choose to leave this blank.
- Footer text is available for any text you would like in the footer of your site pages, such as copyright text.
This is what the top bar looks like:

Footer text will be displayed like this on all site pages:

Customizing Text
To add any of these brand text options, follow these steps:
- From the Admin Dashboard, select Branding and then choose Logo & Colors.
- Enter your desired brand text.
- Click Save Changes when you're done.
SEO

SEO (Search Engine Optimization) settings in your platform allow you to control how search engines interact with your site, which can influence its visibility in search engine results. This section includes options to add a favicon, configure a robots.txt file, and decide whether to discourage search engines from indexing your site. These settings help ensure your site meets your privacy or visibility goals while maintaining control over how it's presented online.
Favicon
- The favicon is a small icon that represents your site in browser tabs, bookmarks, and other areas.
- You can upload a favicon image using the Browse Media button. This tiny visual element helps strengthen your branding and makes your site easily recognizable.
This is what it looks like:

Robots.txt
- The robots.txt file allows you to instruct search engine crawlers on how to interact with your site.
- For example, you can use it to block certain pages or directories from being indexed by search engines by specifying user-agent rules and disallowing access to specific parts of your site.
Discourage Search Engines from Indexing This Site
- This toggle setting lets you request that search engines avoid indexing your platform.
- While this can be useful for private platforms or during site development, it’s important to note that it’s up to search engines whether to honor this request.
By customizing these SEO settings, you can strike the right balance between visibility and privacy, ensuring that your platform aligns with your business objectives.
Custom Styling
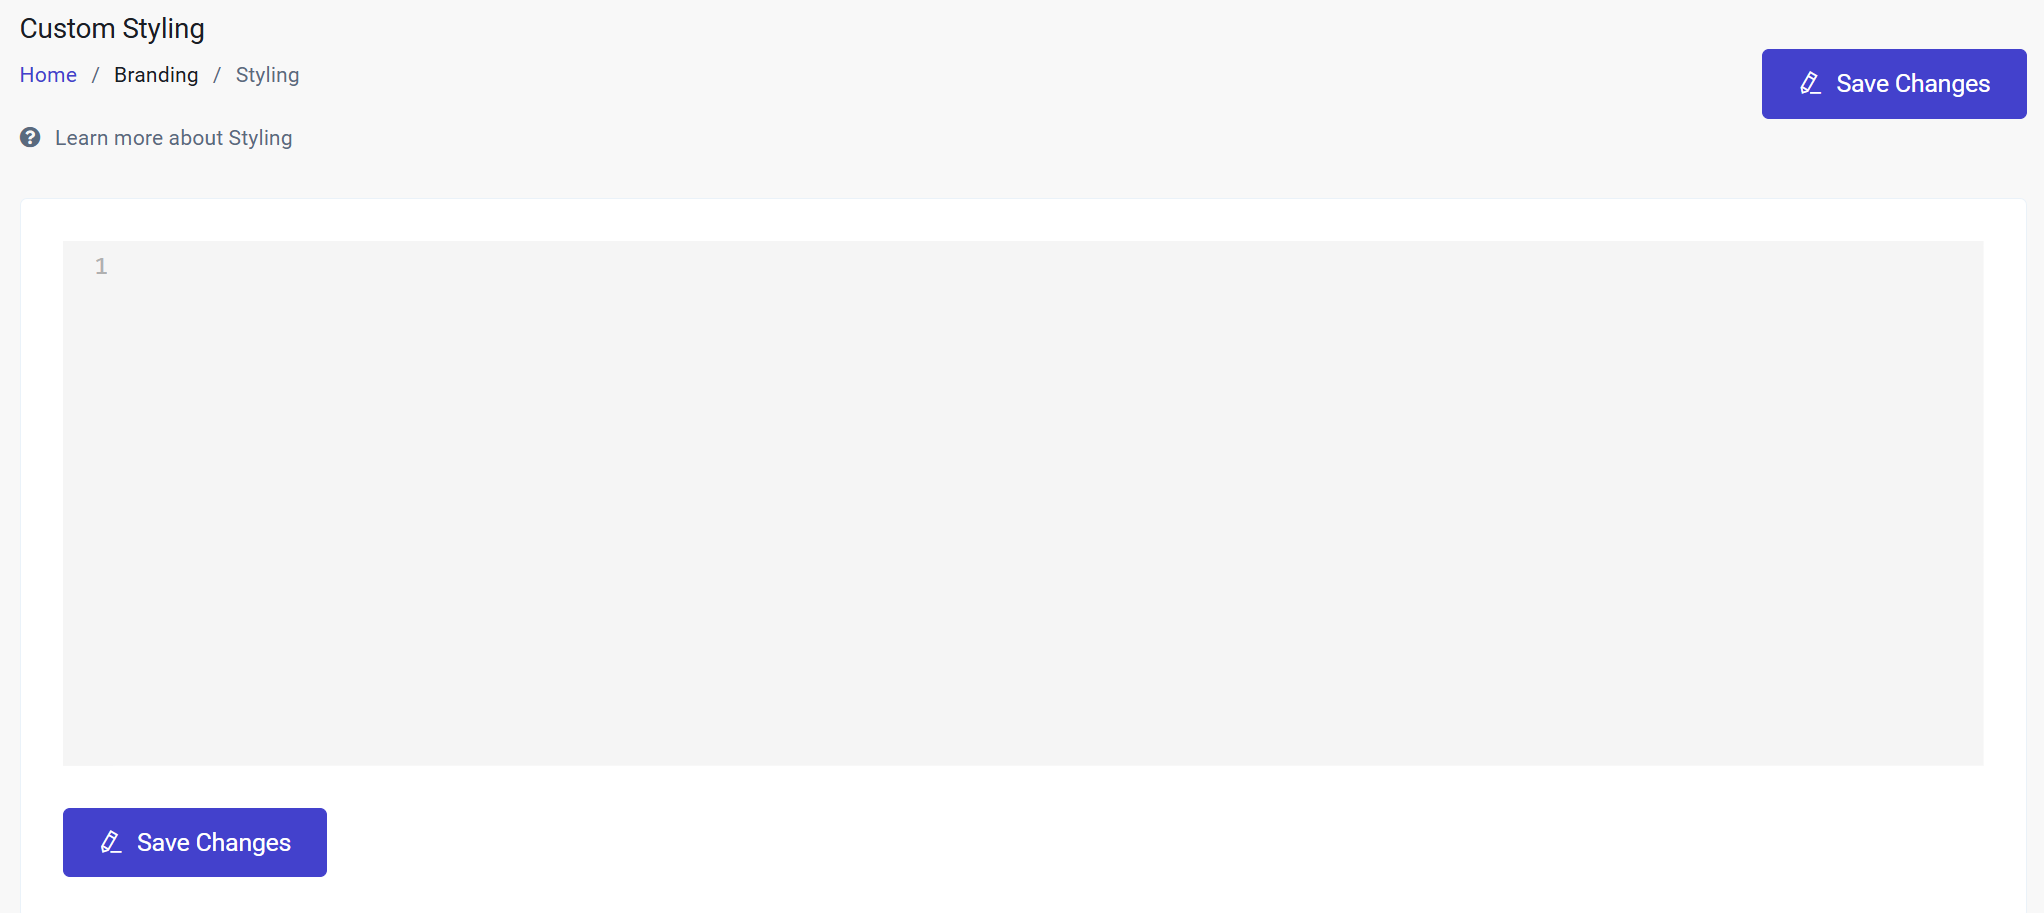
Some clients wish to apply more flexible styling across their platform, whether to the front-end pages, the Dashboard, or the Course Player. This can be done using the Custom Styling tab, allowing clients to add their own custom CSS code that automatically gets applied to the aforementioned areas.
To add custom styling, follow these steps:
- From the Admin Dashboard, select Branding and then choose Custom Styling.
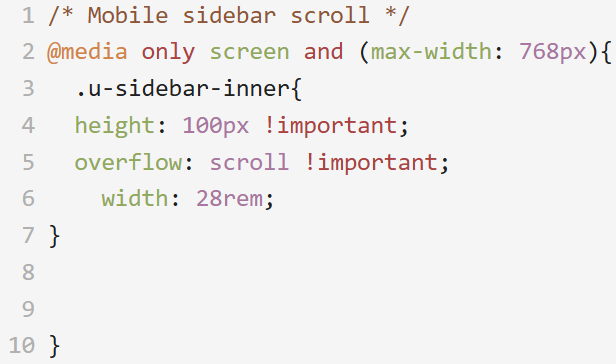
- Add in your custom CSS code. For example:
- Click Save Changes when you're done.
As a best practice, make sure you add CSS formatted comments when applying custom CSS code, so you will be able to determine its function more easily at a later date. Also be sure to properly vet the code when deploying it to the platform. When experiencing styling issues on your platform, be sure to first evaluate the CSS for potential errors before reaching out to our Support team.
Check out more details on how to add a custom font or customize navigation menus.