Building a Course Catalog
The Course Catalog is a public-facing page where students can browse, purchase, and self-enroll in courses linked to a product. While courses provide the content students access, it is the product that is actually available for purchase in the catalog and contains the courses. This applies even for free courses—by setting up a free product that includes the course(s), students can "purchase" the free product to gain access.
This guide will walk you through managing your products in the Course Catalog and creating a customized Course Catalog page. If you offer both Instructor-Led and Self-Paced courses, you'll need to create separate Course Catalog pages for each type, which will also be covered in this guide.
Be sure to review our overview of eCommerce Setup guides: Introduction to eCommerce
Creating a Product
Courses are required to be added to a Product in order to appear in the Course Catalog for purchase and self-enrollment by a Student. If you plan to offer a free course, you will still need to create a Product to allow your Students to enroll themselves.
The exception to this process is bulk ordering a Course for a large set of Students. That process is explored further in our Managing Portal guide.
If you haven't already created Products, be sure to review our overview of Adding a Course to a Product before continuing this Course Catalog guide.
Managing Products in the Course Catalog
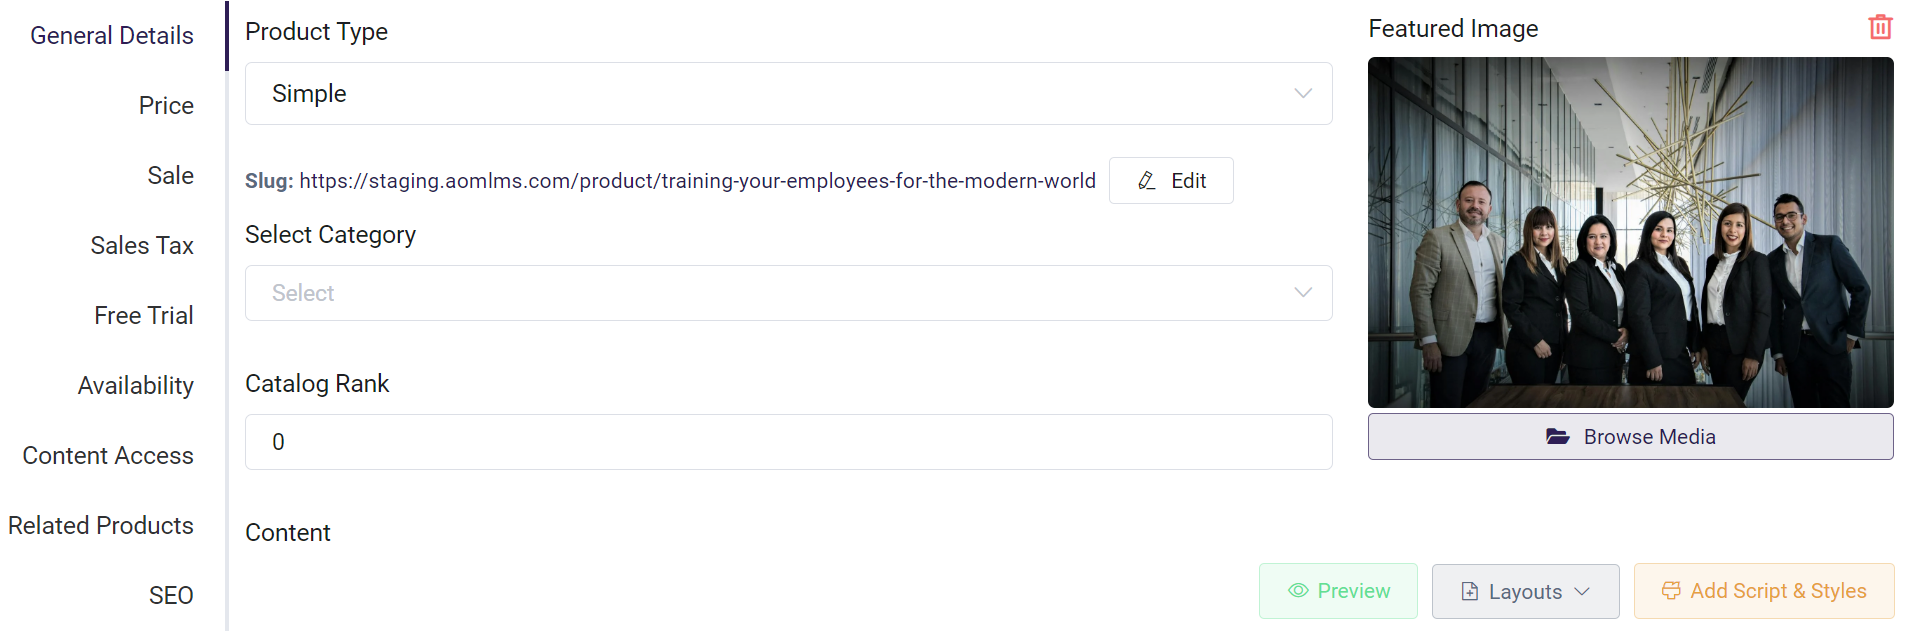
Once your Product(s) has been created, information will be drawn from a Product's general details to populate the Course Catalog page. This includes the title, description, featured image, price, and course access.
For example, see this information in the Product listing for a Self Paced course Product:
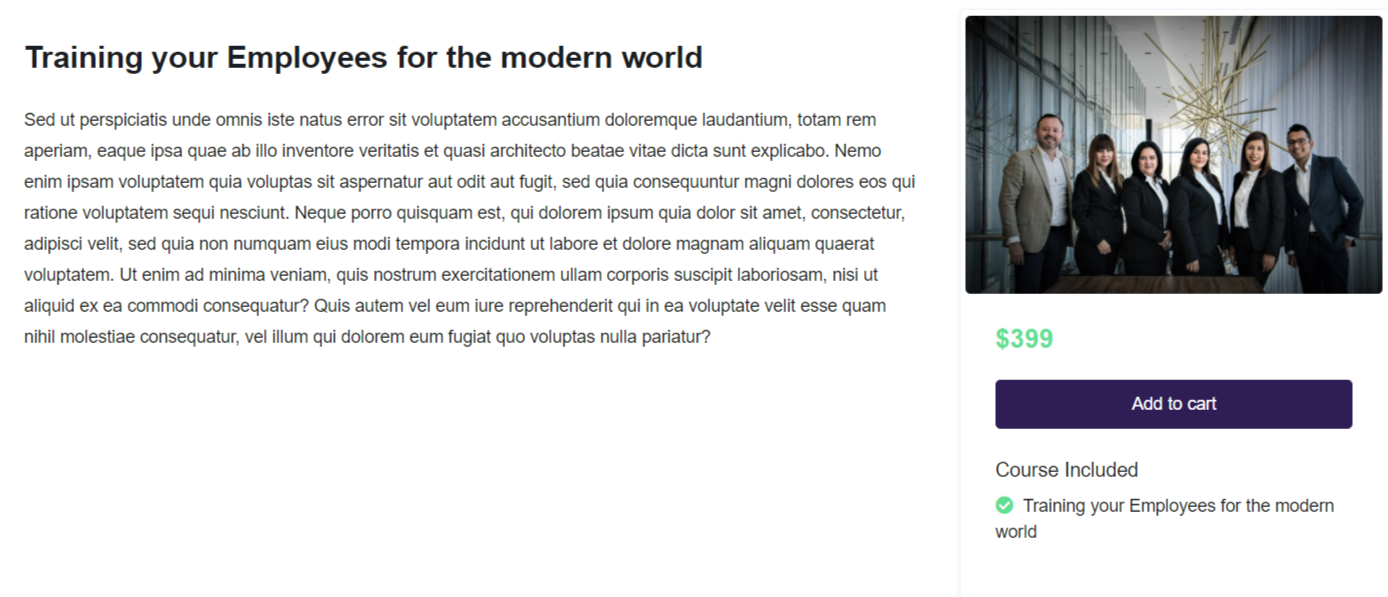
Compared to how it's seen on the Course Catalog page:

Expanded description of a Self Paced course Product on the Course Catalog page:
For an Instructor Led course, the student will see this on the Instructor Led Course Catalog page:
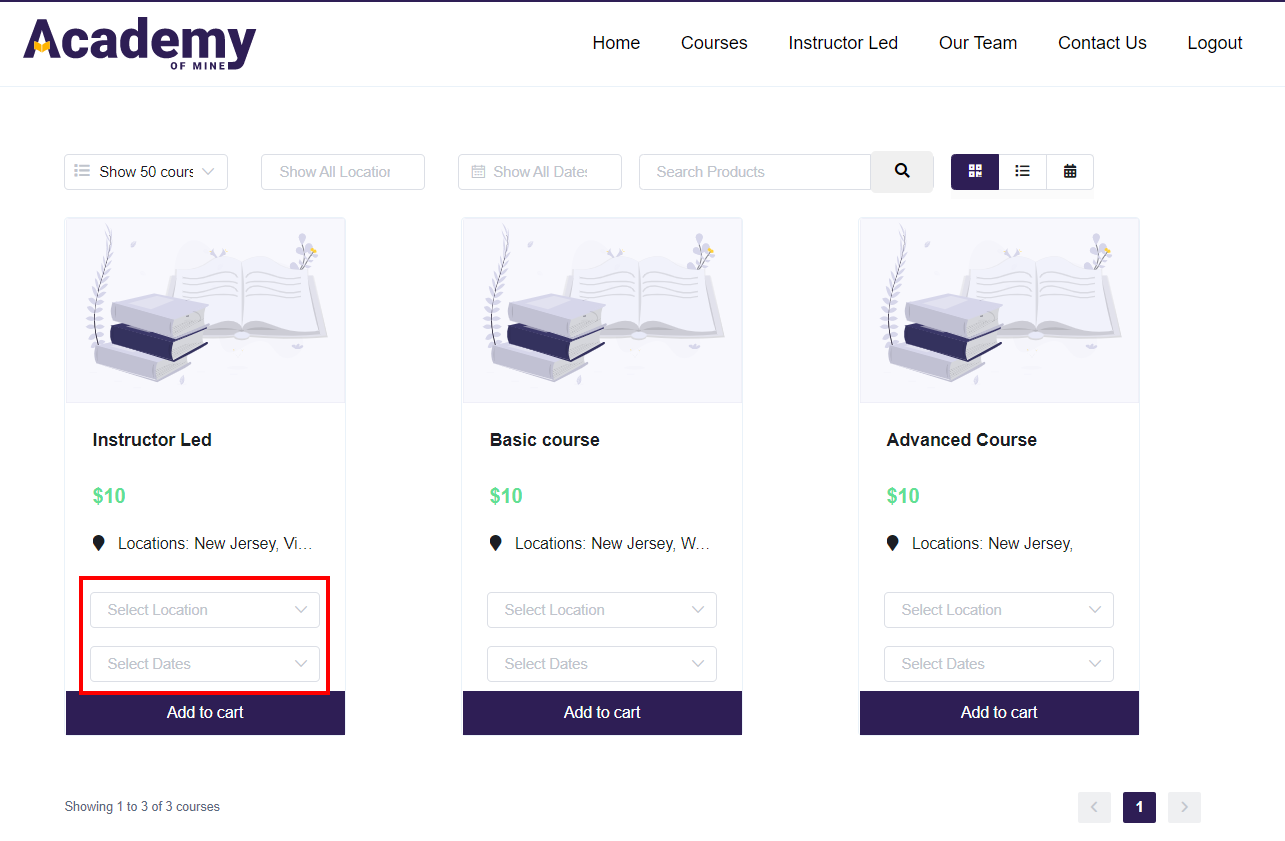
As you can see, they will be able to choose the location and date of the class they will be purchasing and enrolling in.
Creating the Course Catalog Page for Self Paced Course Products
Once you're ready to create your Course Catalog page, check out these steps:
-
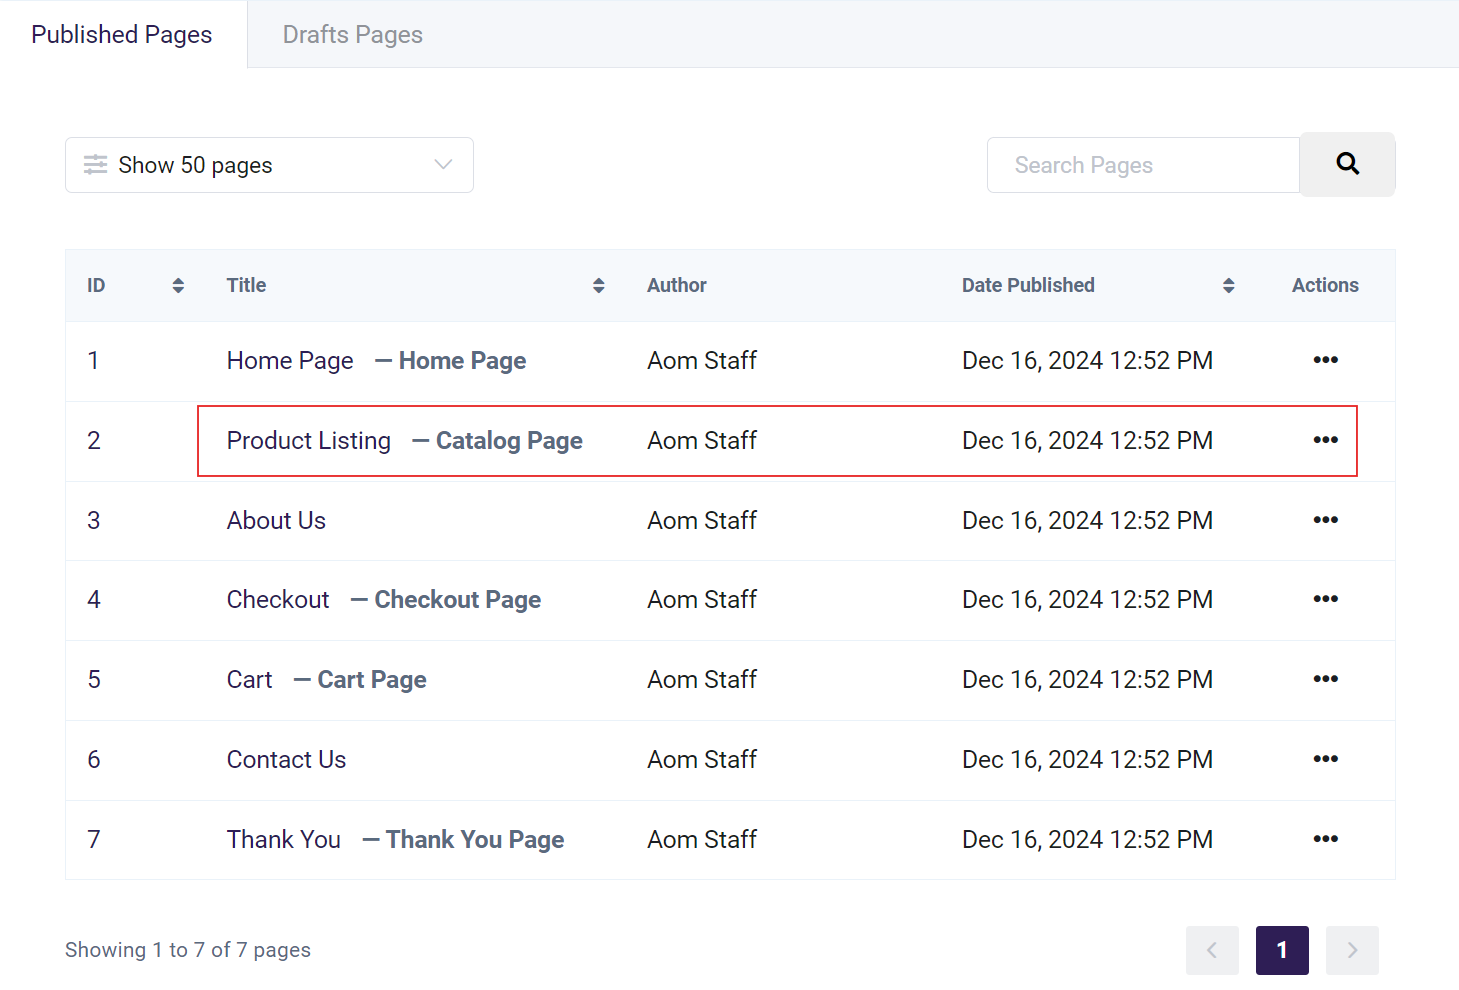
From the Admin Dashboard, select Pages & Menus, then Pages
-
A sample Course Catalog has been provided, named Product Listing. However you are free to create your own page by using the Create Page button.
-
If you want to build your own page, please see this guide for more details.
-
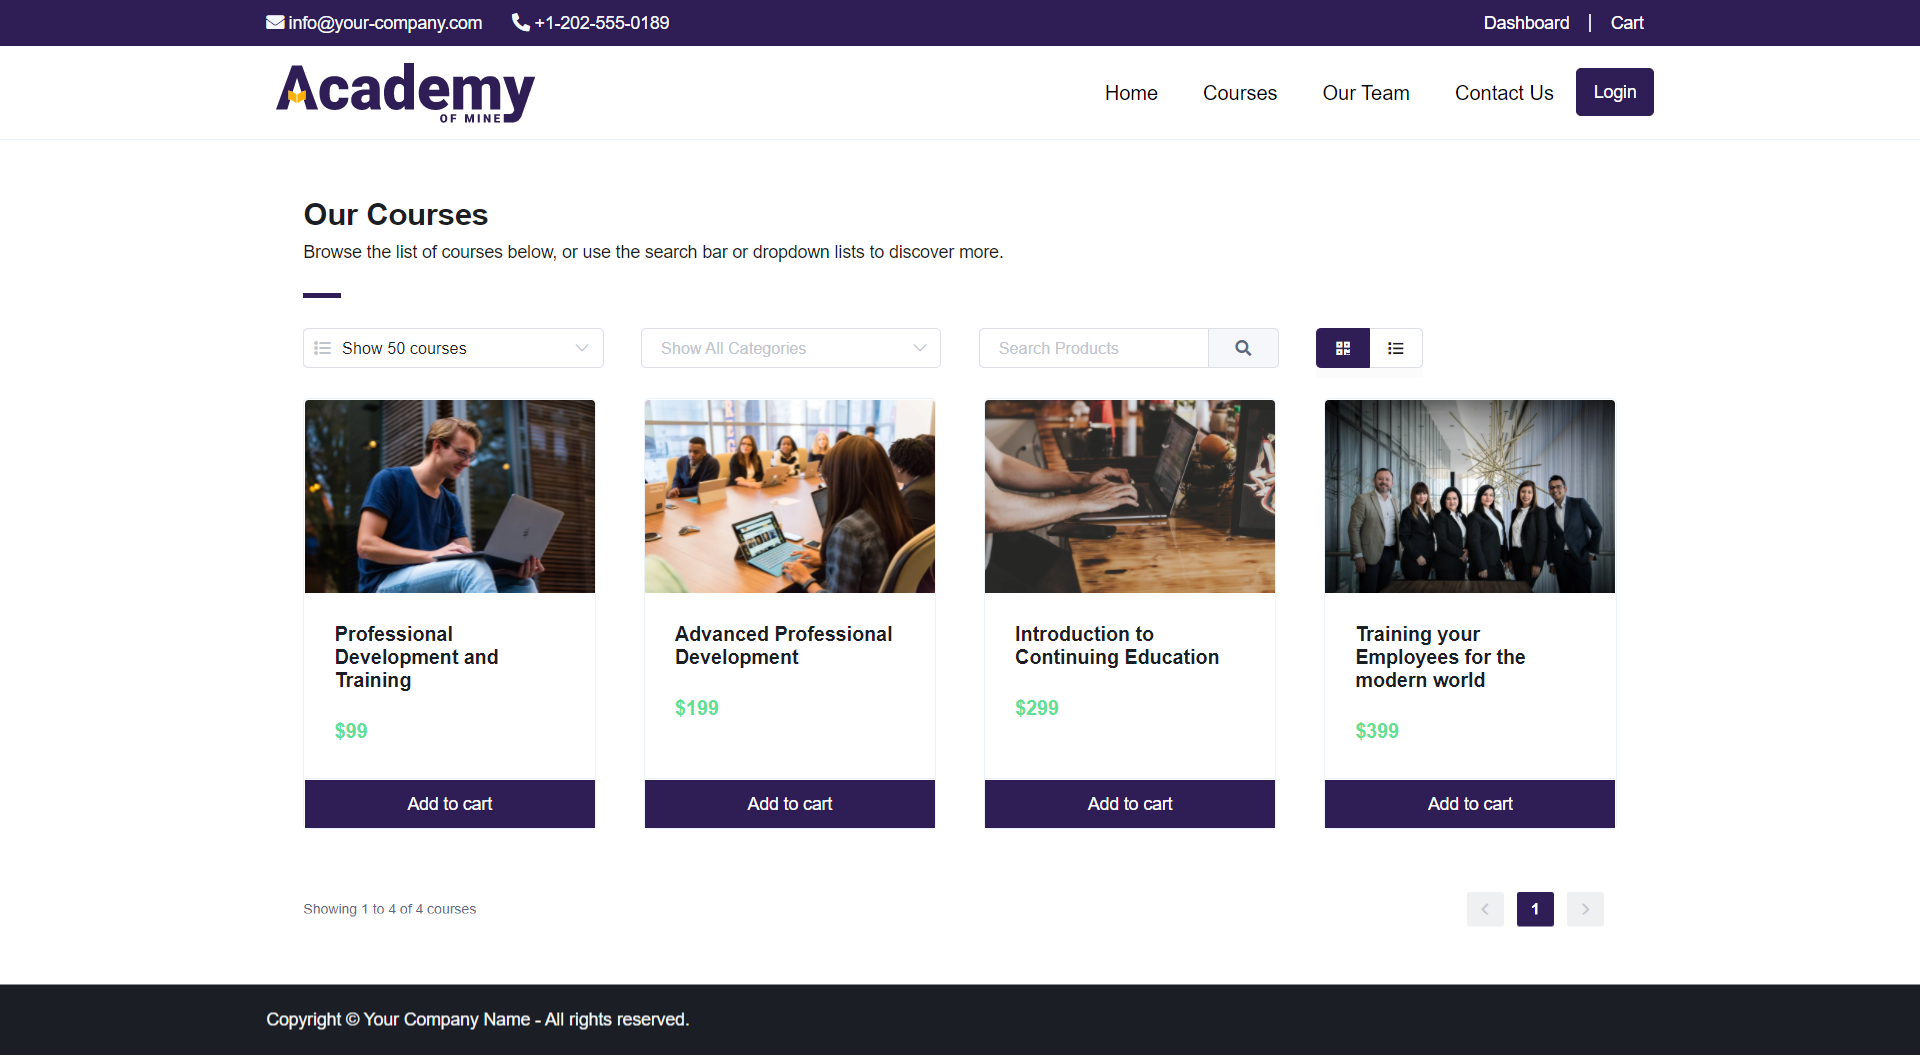
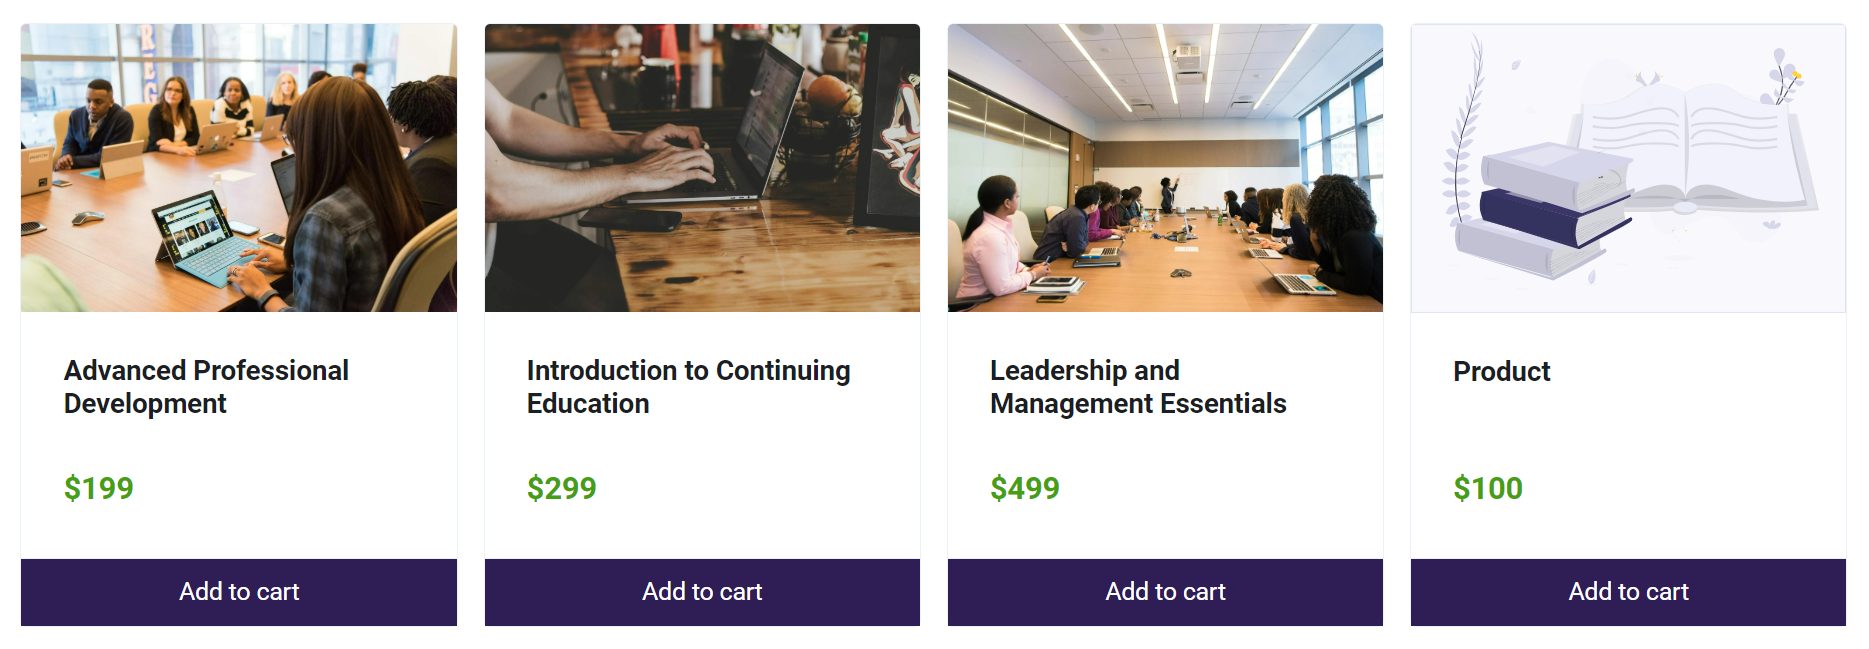
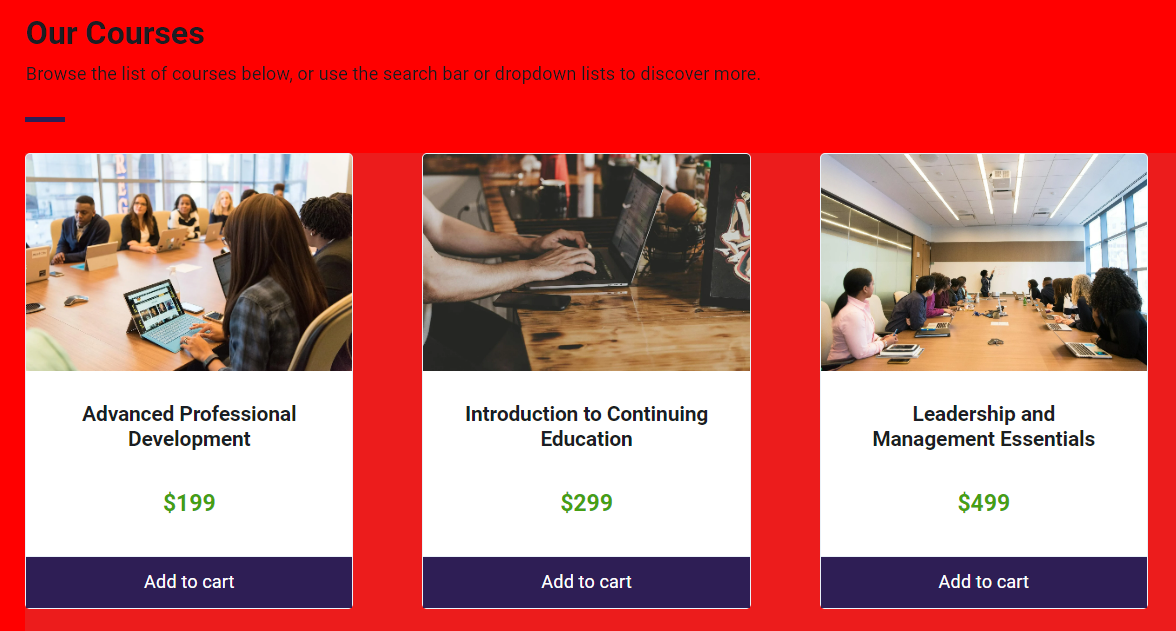
The pre-built Product Listing snippet includes a display of all Products, a grid or list view, a search function, an Add to Cart button, and details for each available Product.
-
The provided Course Catalog will display like this:
-
Note that if you opt to create a new Course Catalog page, you will need to assign it as your Catalog Page on your settings:
- Head to Settings > General in the Admin Dashboard
- In the Site Page Identifications section, select your catalog page from the Product Catalog Page dropdown.
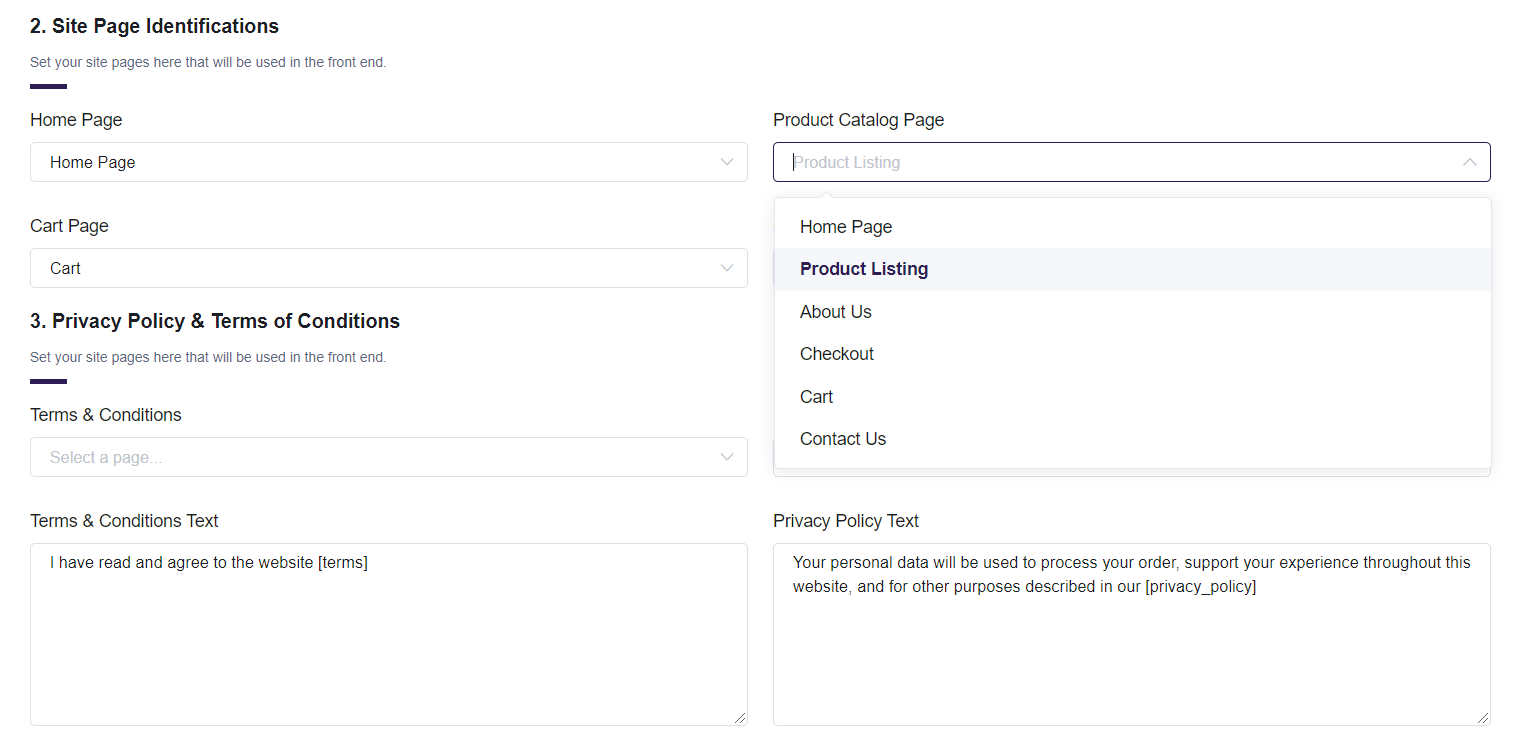
- Save your changes
Creating the Course Catalog Page for Instructor Led Course Products
If you offer Instructor Led Courses and create Products based on those courses, you will also need to create a new page with a product listing block for Instructor Led courses. A single product block (which lists your products automatically on a page when the block is added) can't have both Instructor Led and Self Paced courses in one block, due to their fundamentally different set ups--for example, students will be able to filter an Instructor Led catalog page by date and location, which does not apply to Self Paced courses.
Note that Instructor Led courses may not be available to legacy users. Please contact support if you have questions about the availability of this feature and adding it to your platform!
To create a page for your Instructor Led courses, follow these steps:
- From the Admin Dashboard, select Pages & Menus, then Pages
- Click + Create Page
- Build the page using our page builder as you see fit, using sections (the blue boxes), rows (the green boxes which organize blocks) and blocks (the grey boxes that contain the actual content--this is where you will add the product listing block that will contain your products). For more details, please see this article: Using the Page Builder.
- You will need to add a product listing block so that your products will show on this page. Once you have configured the page, click the grey + to add a block and choose product listing block.
- Select the gear icon on the product listing block to open settings
- Choose Instructor Led as the Product Type
- Choose if you would like the products to be shown in a card, list, or calendar view
- You can also configure other settings such as the sort direction and if you want to exclude certain products
- Click Save Changes when you're done
- Click Preview to ensure your page is looking how you want
- Click Save Page
Now, you can add that page to a menu using the steps here: Customizing Navigation Menus
Customizing the Course Catalog Page
Besides building your own new Course Catalog page (if you don't want to use the provided one) you can also customize the provided one as needed
-
From the Admin Dashboard, select Pages & Menus, then Pages. Select the Product Listing--Course Catalog page.
-
Here, you may edit the:
- Title: Set the title of your Course Catalog page. This will be used for internal administration.
- Page Layout: You can set the page layout automatically, to better format for the devices your Students may use. Full Width is recommended for desktop browser. Fixed Width with Left/Right margin Gaps is recommended for tablets. Page with No Headers is recommended for phone
- SEO Title should be a unique identifier under 60 characters.
- Your SEO Description should be between 50-160 characters. The description should include keywords to boost your recognition by search engines.
- The Thumbnail Image URL is displayed whenever your Course Catalog URL is shared on social media platforms like Facebook or Twitter.
The recommended dimensions are 1200x630 pixels, with an aspect ratio of 1.91:1.

-
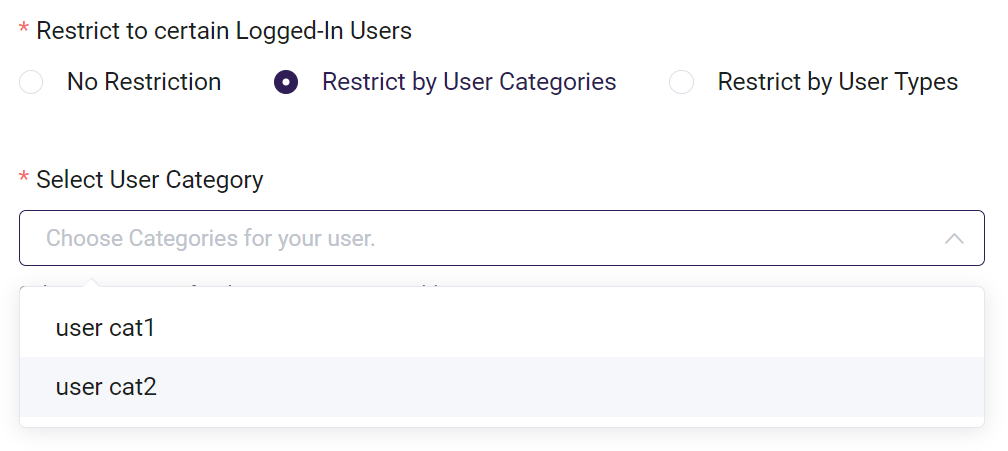
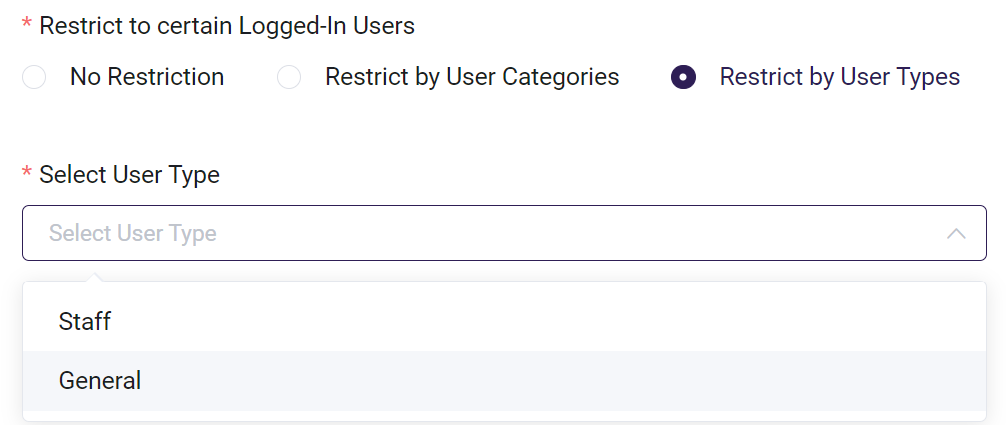
There is an option to restrict this page to logged-in users only. To enable it, activate the "Show only to Logged-In Users" setting. For these users, you can choose from three available categories.
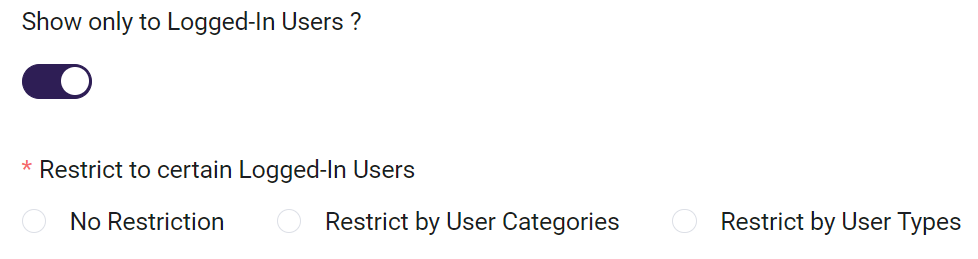
No Restriction - No restrictions for the logged in users.Restrict by User Categories - You can restrict based on user category.
Restrict by User Types - You can restrict based on user type.
-
Be sure to click Update Page when you're done
Note: If you need multiple Course Catalog pages to target different set of Students, please contact Support to set that up.
You may also edit the content, which we'll go into once we understand how the page is built.
Page Basics
The Content section allows you to design your page freely, using your own HTML elements and formatting as desired. However, every Course Catalog page must include the Product Listing snippet. This snippet is essential for displaying the list of products and enabling students to proceed to the checkout. You can customize any content above or below the Product Listing snippet, but it must be included for the Course Catalog to work correctly.
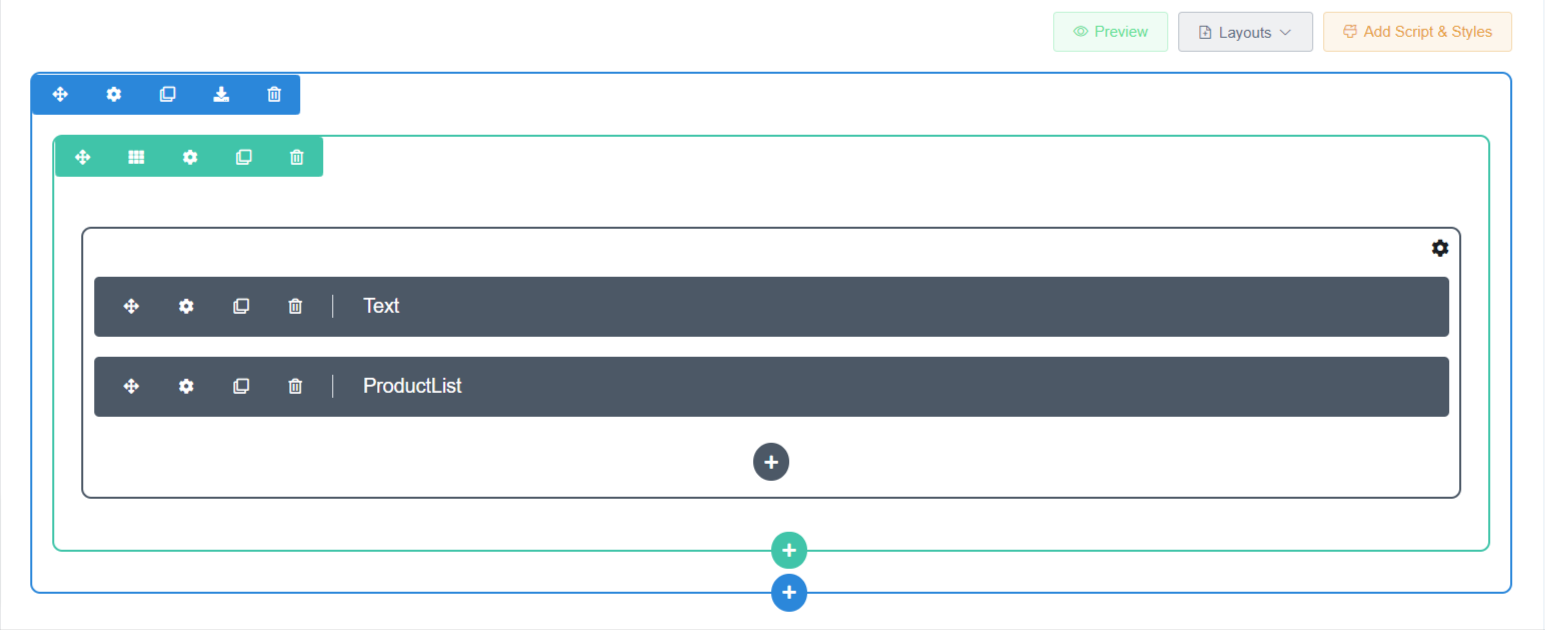
On Edit Page, you'll see the page laid out something like this.
- Sections: The blue boxes are sections. Each section will have its own purpose, so think about what sort of sections you'd like your content divided up into on your page.
- Rows: We use rows (the green boxes) to further organize content within a section. Rows are powerful as unlike sections, they can be broken into columns and you can choose what layout you want to use. There can be multiple rows in each section.
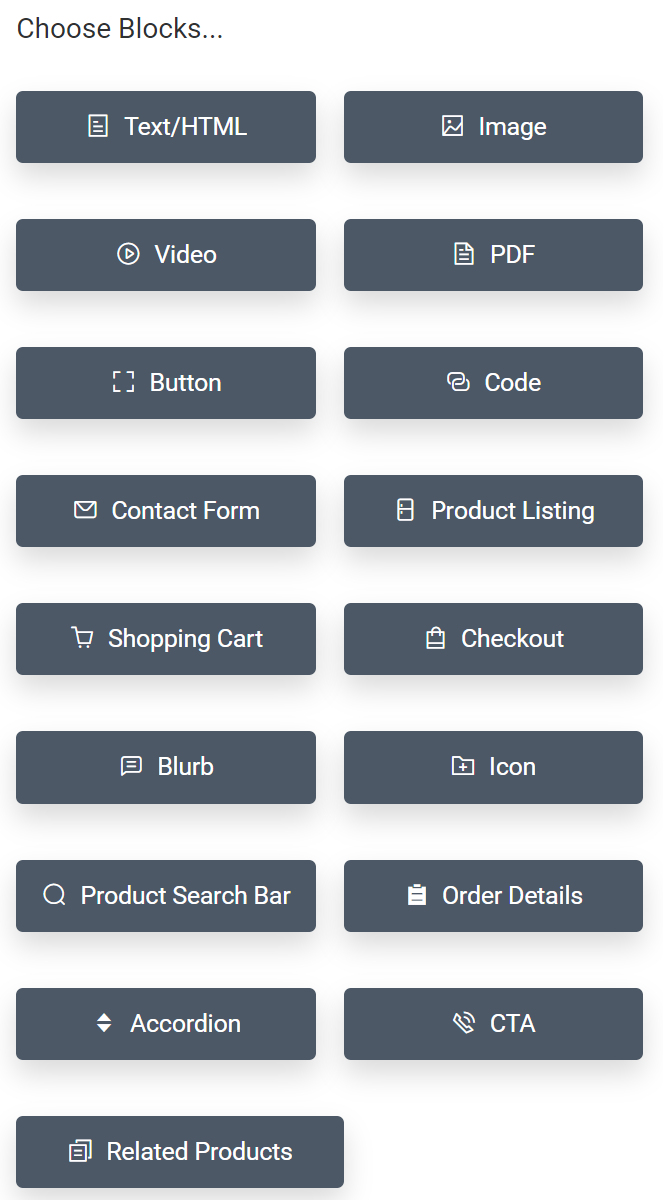
- Blocks: Blocks (the grey boxes) are how you add content to the page! We have several different block types available: you can add Text/HTML, Image, Video, PDF, Button, Code, Contact Form, Product Listing, Shopping Cart and Checkout.
- For more information on customizing your pages, please see our Page Builder guide.
To add or edit content:
- Blocks can be created in the Content editor, by selecting the grey + button. Then, select what sort of content you want to add:
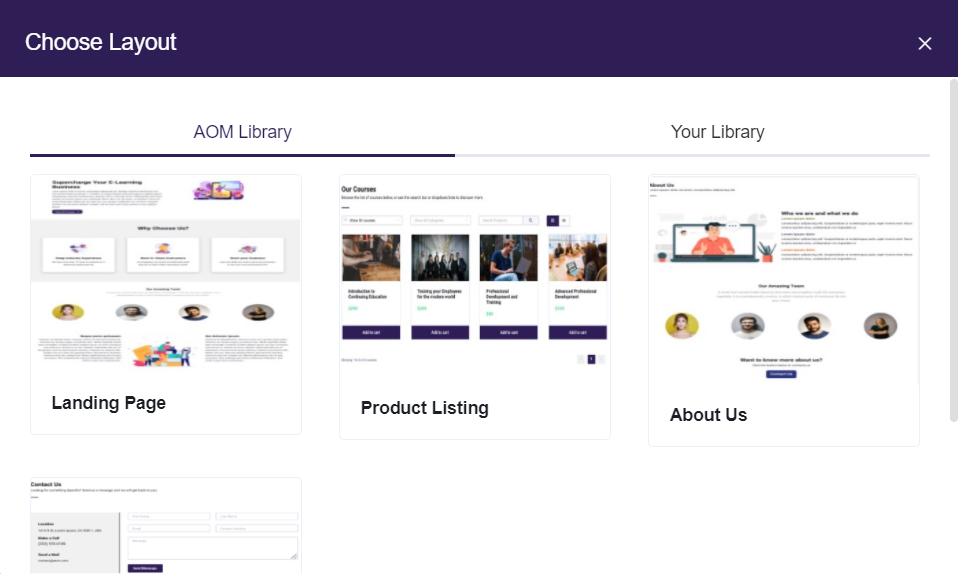
- You can also add any Layout to your page, but the Product Listing block must be added to this page.
- Edit the Products shown.
-
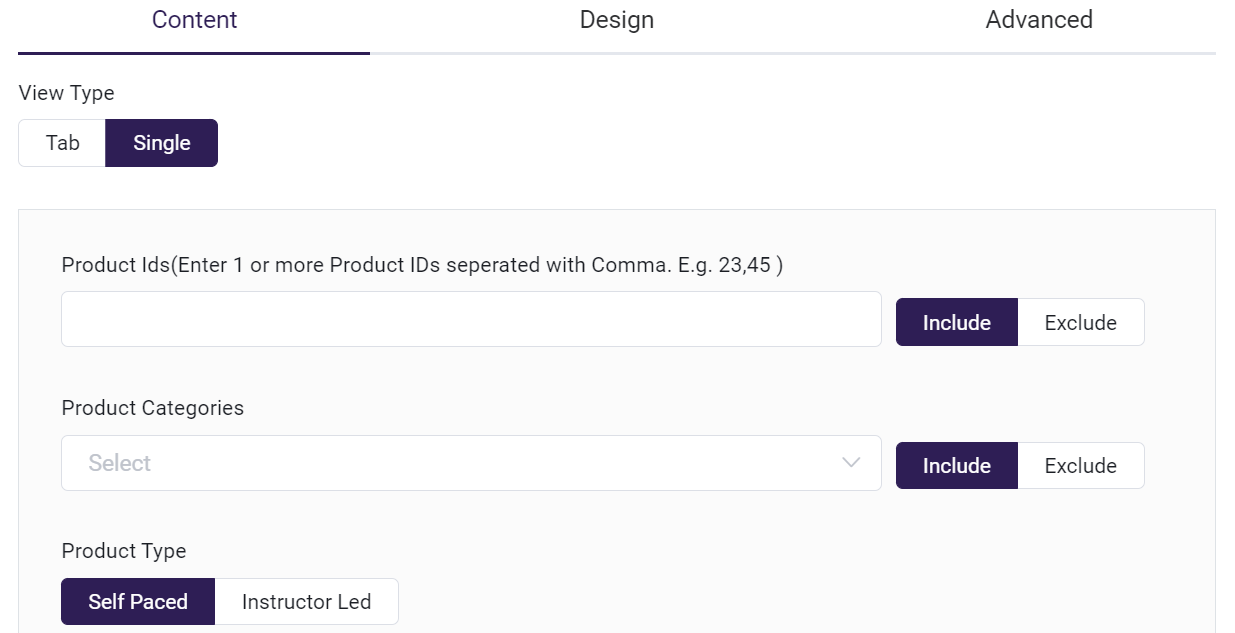
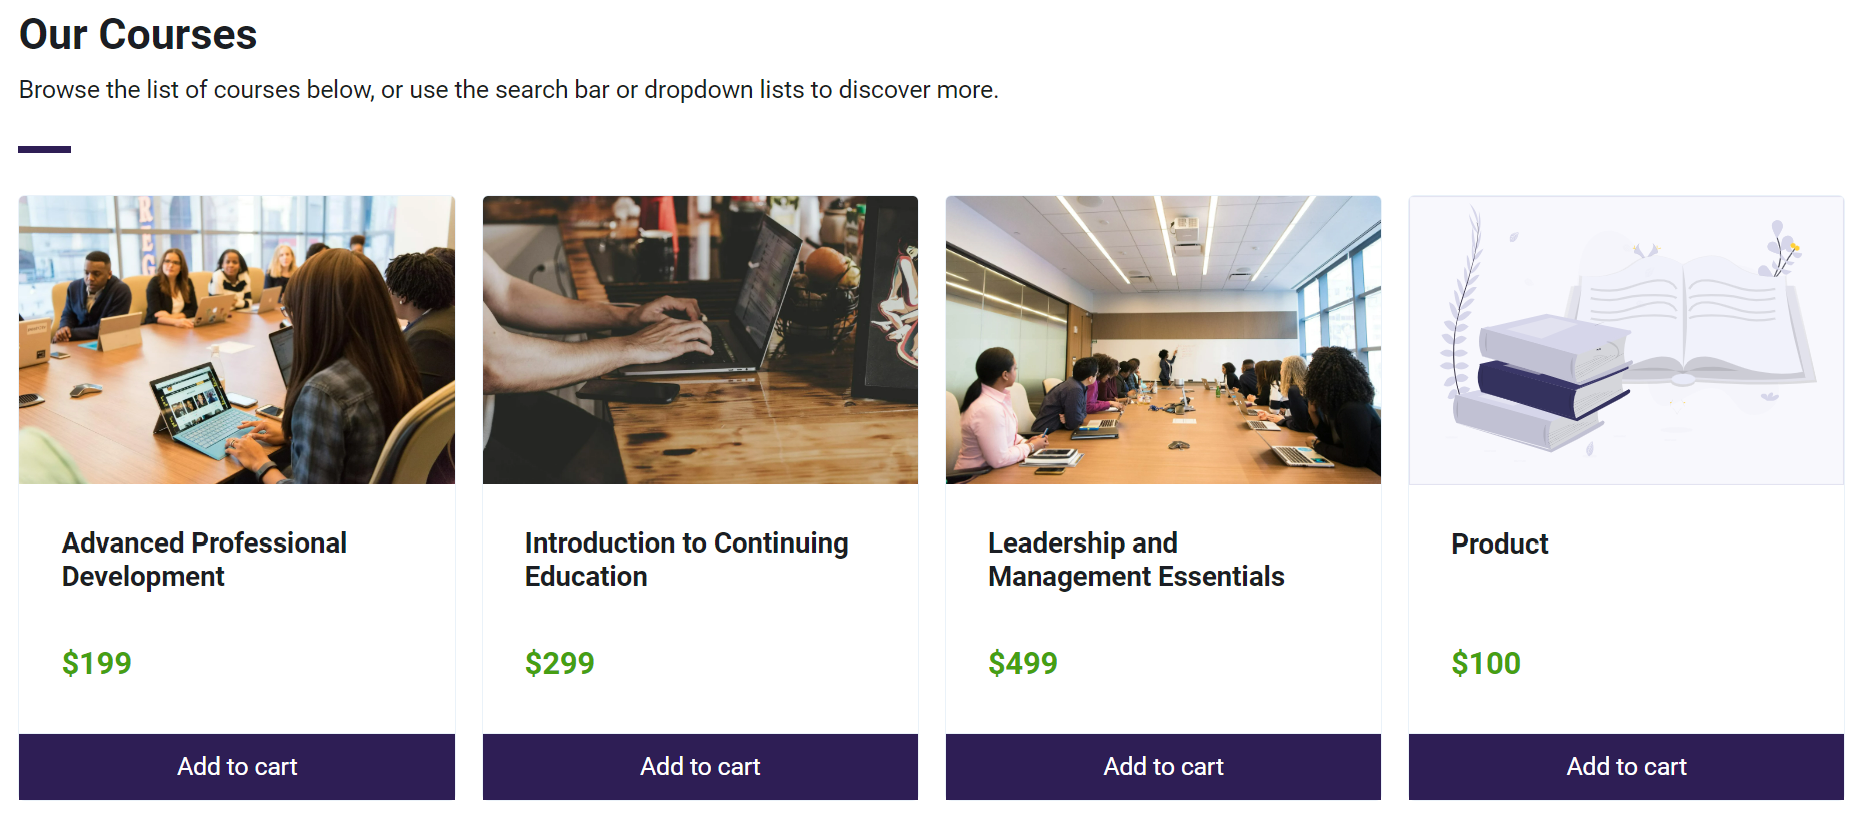
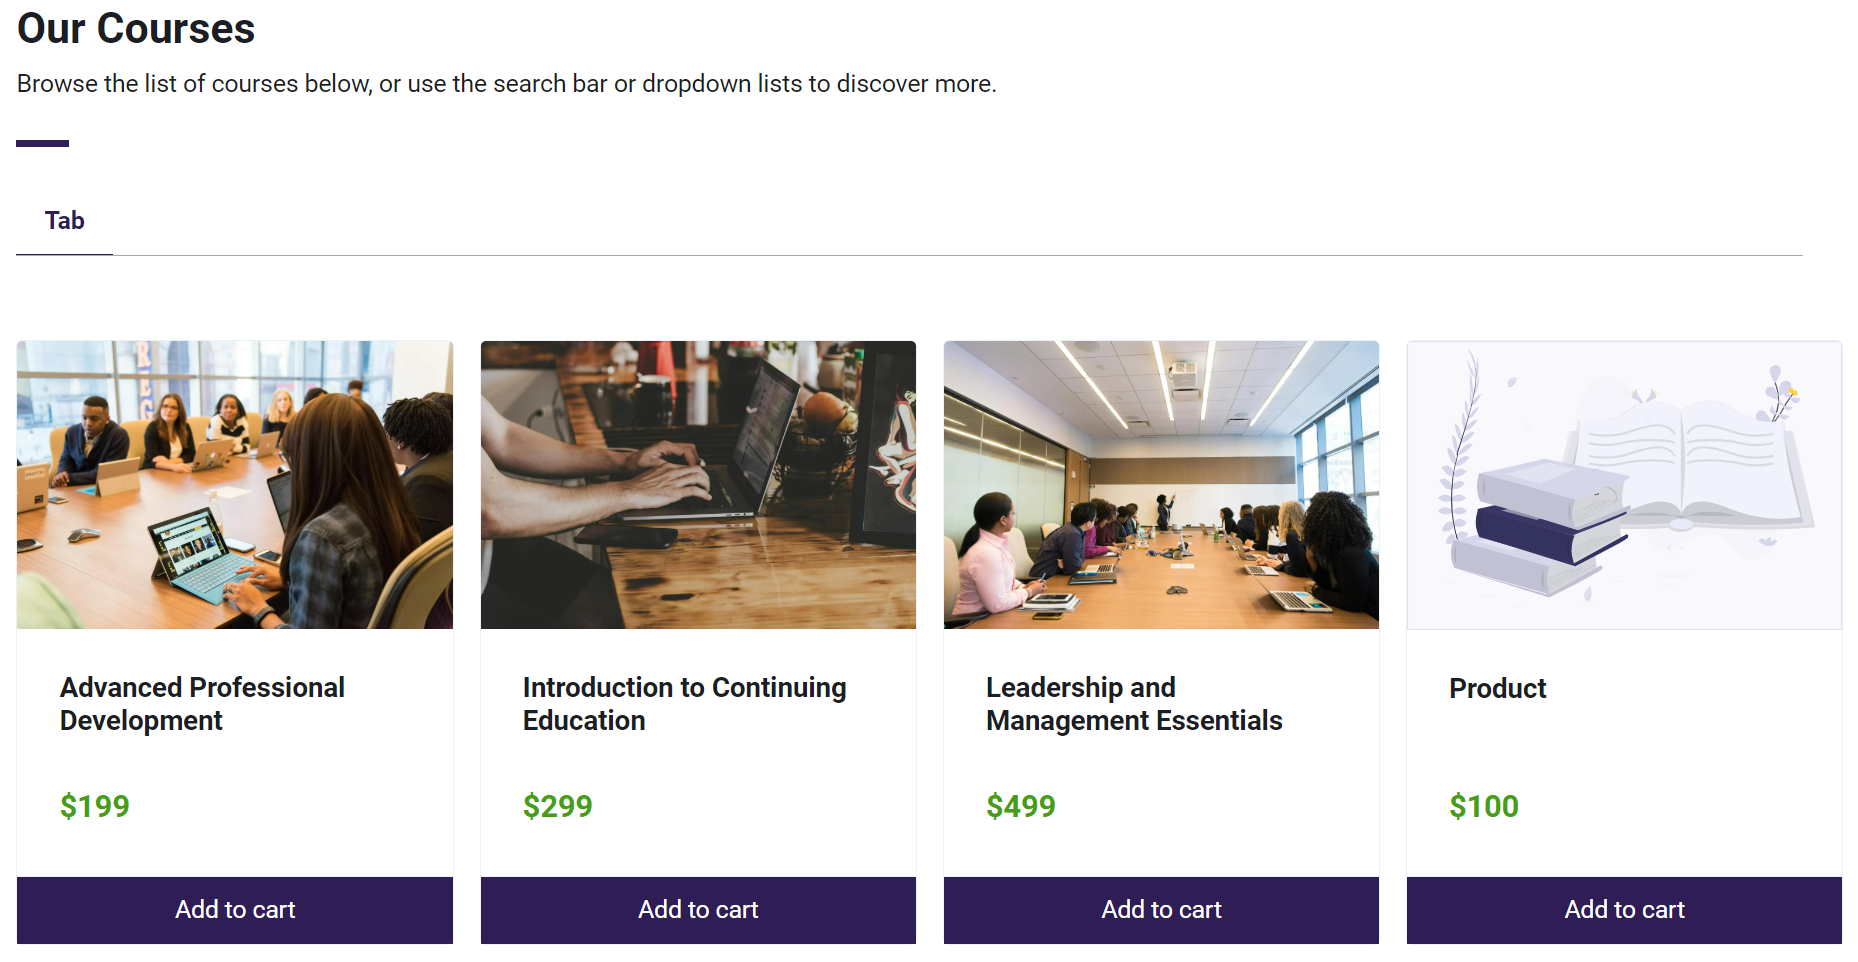
View Type - you have the option to set view type, Tab or Single
Single View
Tab View
-
Include and Exclude of product Id's and product categories
-
Product Type - to show self paced or instructor led courses.
-
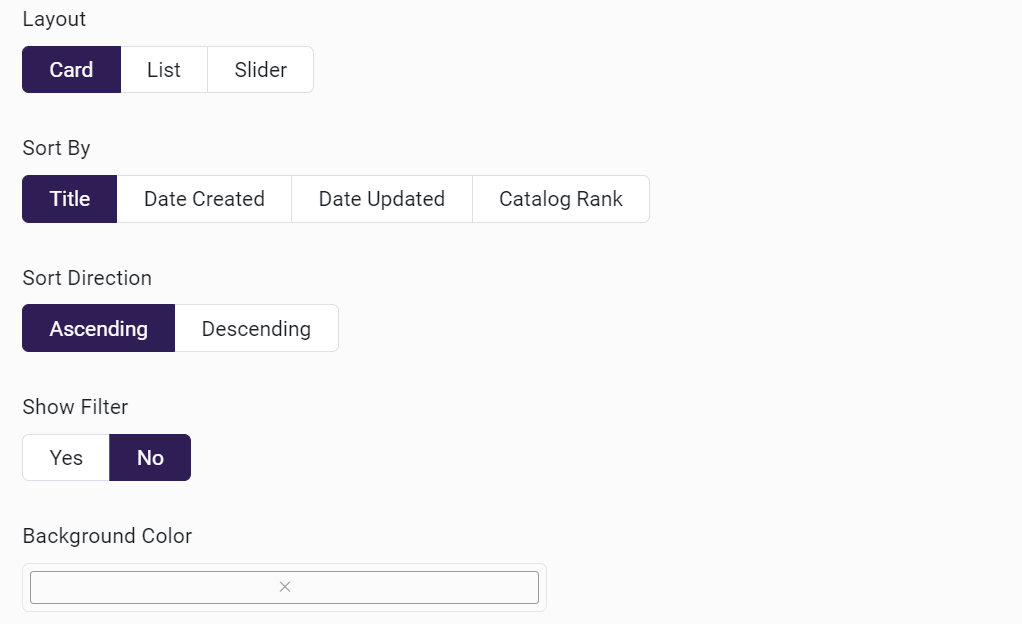
Layout - This signifies how the products will be showcased.
Card
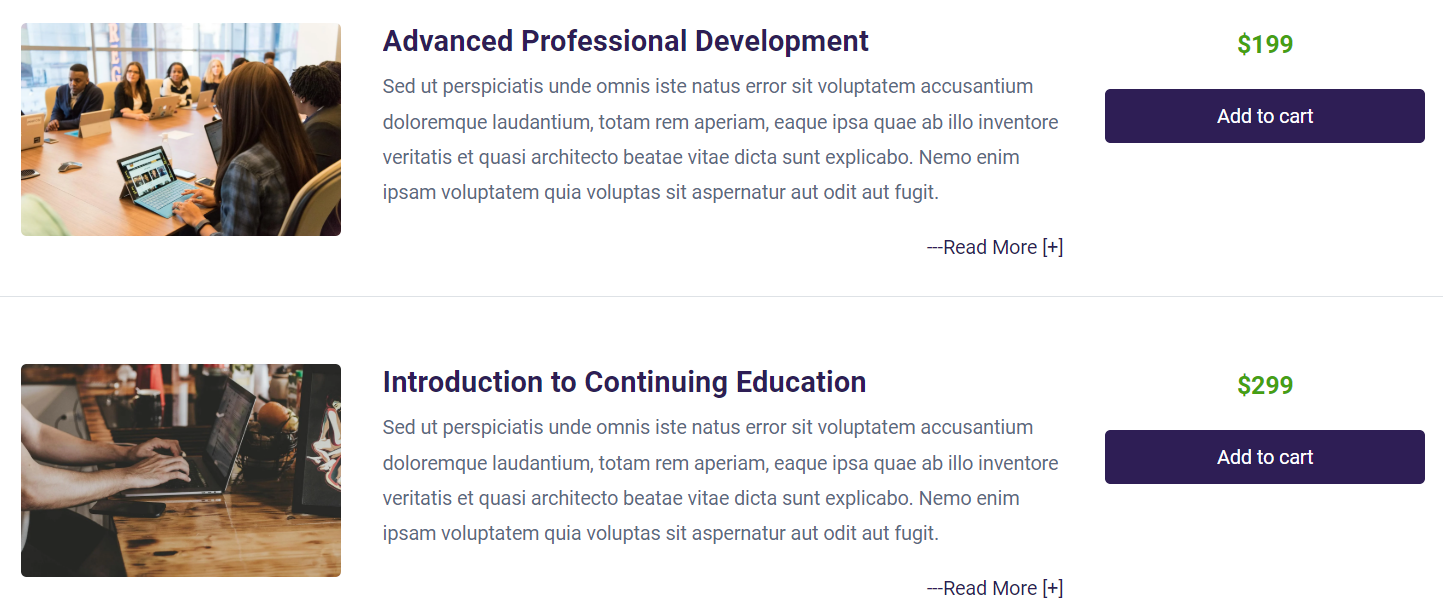
List
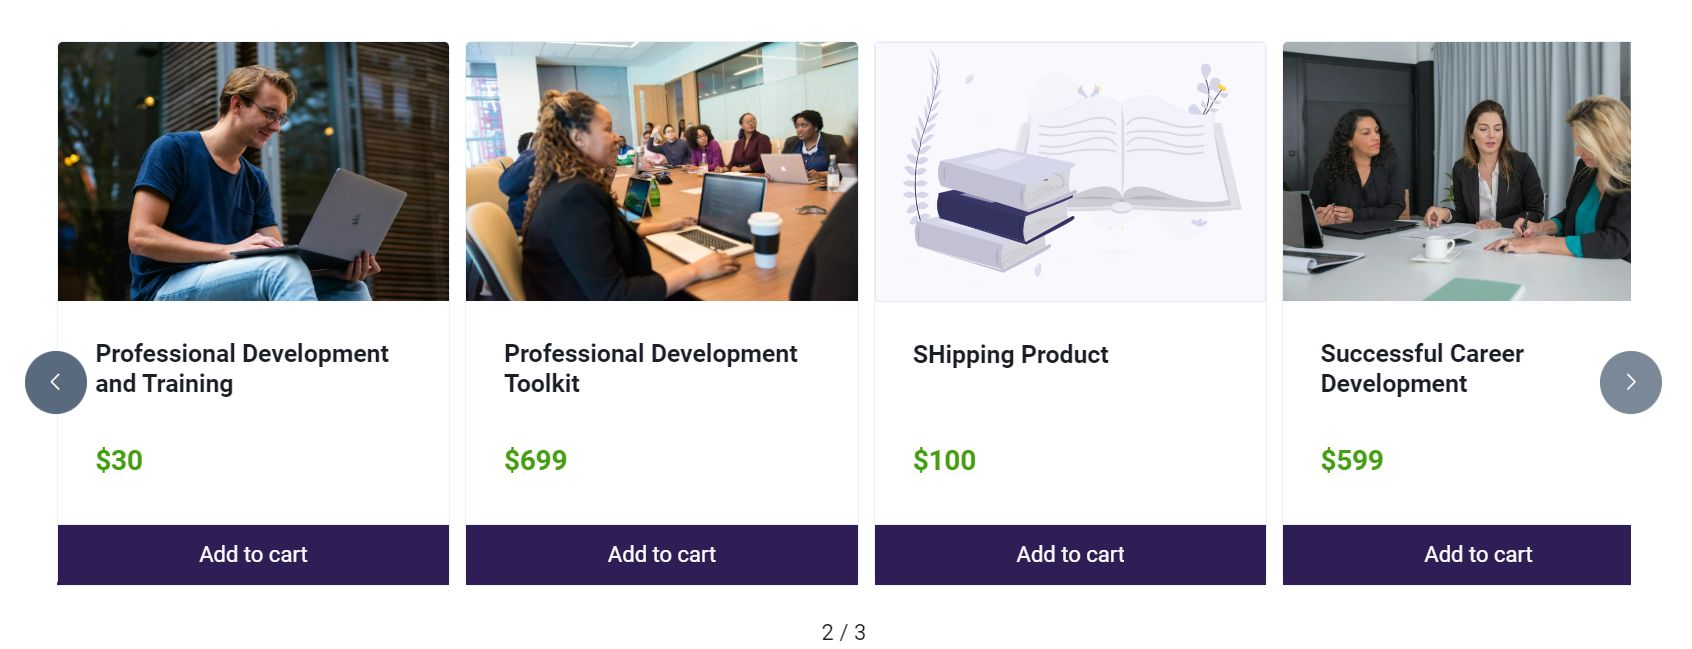
Slider
-
Sort By - can sort the product listing via title, created date, updated date, or catalog rank. If you want certain products to display at the top of the page, then add the rank. By default it is 0.
-
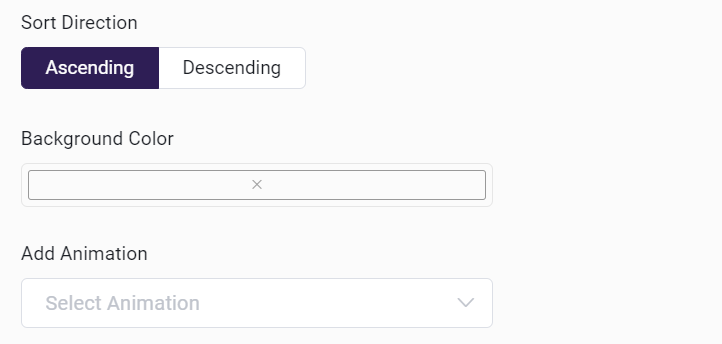
Sort Direction - Ascending or descending
-
Background Color - you can add background color for listing
-
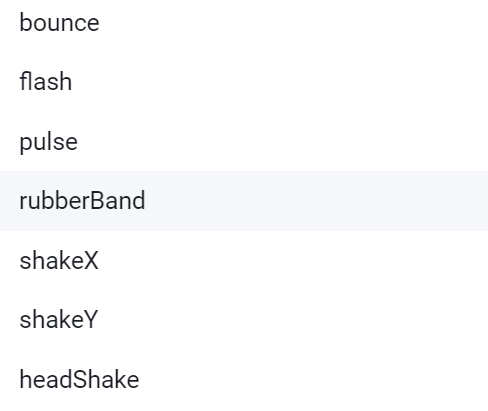
Add Animation - you can add different animation for listing page
Creating a Pre-filtered Course Catalog
It is also possible to create a Course Catalog that only showcases Products mapped to a certain Product Category. This will allow you to limit the Products shown in the original Course Catalog, or create completely new Course Catalog pages that each showcase their own set of Products. For more details on how to do so, check out our Creating a Pre-filtered Course Catalog (using categories) article.
Customize price color and Add to cart button text
This feature is designed to offer a seamless and user-friendly customization to tailor user experience and allow users to personalize their Course Catalog page, check out our Global Product Setting Article.
Next Step
Now that your Course Catalog is completed, it's time to move on to the Checkout process: