Configuring AOM as an LTI Tool on Moodle LMS
If you'd like to offer your course content to external users on Moodle LMS, you'll need to connect the two platforms using the LTI Advantage (LTI 1.3) standard. In order to connect, a site administrator will need to set up the connection on the Moodle LMS side.
Integrating with Moodle LMS
Please note, only Moodle Site Administrators have the appropriate permissions to configure external tools, which are a requirement to connect via LTI.
AOM initial steps
- In your AOM platform, go to your Integrations page, find the Publish as LTI Tool integration, and click on Manage.
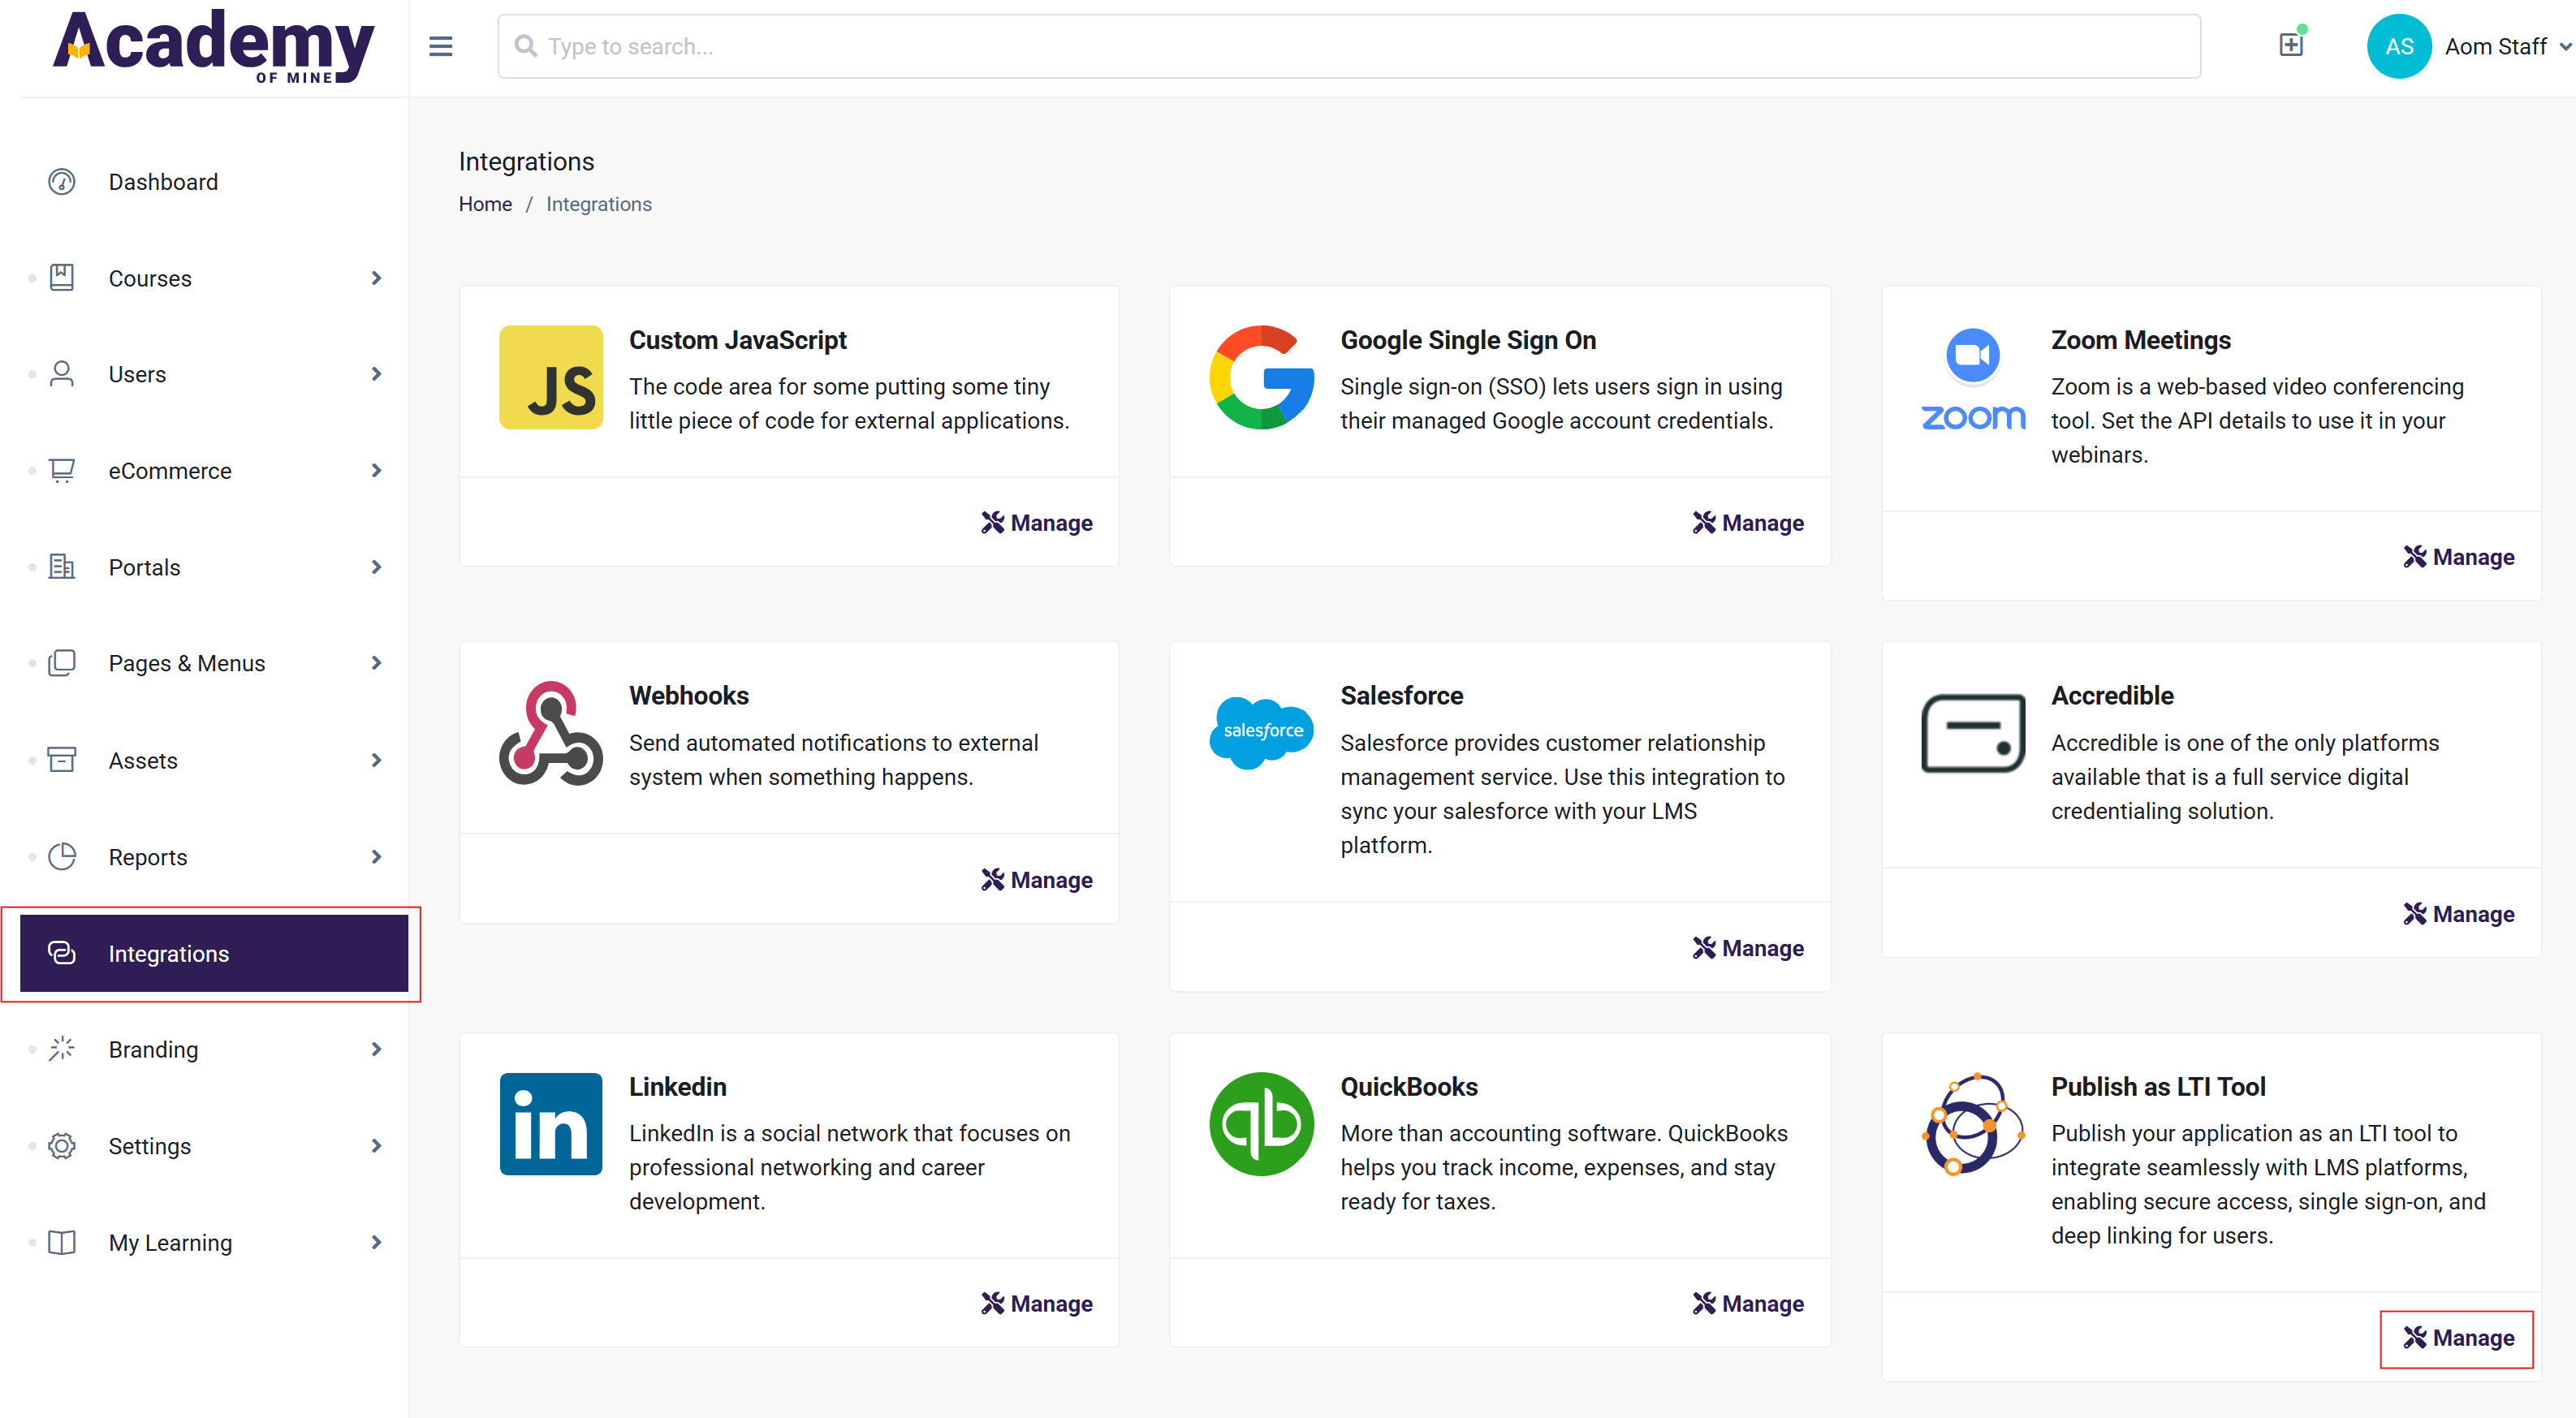
- Ensure that the Enable LTI Tool toggle is enabled, and then click on Register Platform.

- On the Register Platform page, you will find a LTI Tool Information section at the top, which provides the information you will need to provide to the Canvas LMS admin. Each piece of information can be copied easily by just clicking on it.

- Once you've noted down the information, add a Platform Name, and click on Add Platform to register the platform. We'll come back to this page once the external Canvas LMS admin has added the tool on their end.
The Platform Name can be anything that helps you recognize this LTI connection. It does not need to match anything on the external LMS platform.
Moodle LMS steps
- Open the Moodle LMS instance, and log in with your site administrator credentials.
- Go to Site administration > Plugins > Activity modules > External tool and click on Manage tools.

- Click on Configure a tool manually.

- This should open up the External tool configuration form. Fill this page in as follows:
| Field | Value |
|---|---|
| Tool name | AOM (or your preferred display name) |
| Tool URL | Launch URI(s): the first URL that ends in /launch |
| LTI version | LTI 1.3 |
| Public key type | Keyset URL |
| Public keyset | https://your-aom-domain.com**/lti/jwks/jwks.json** |
| Initiate login URL | OIDC Auth endpoint |
| Redirection URI(s) | All of the Launch URI(s) |
- In Tool configuration usage, select Show in activity chooser and as a preconfigured tool.
- In Default launch container, select New window.
- Check the Supports Deep Linking (Content-Item Message) checkbox.
- In Content Selection URL, enter the Content-selection URL provided by the LTI tool.

-
Expand the Services section and configure:
- IMS LTI Assignment and Grade Services: Set to Use this service for grade sync only
- IMS LTI Names and Role Provisioning Services: Set to Use this service to retrieve members' information as per privacy settings

- Expand the Privacy section and set both Share launcher's name with tool and Share launcher's email with tool to Always. This ensures user information is passed correctly to the AOM platform.

- Click Save changes. This should take you back to the Manage tools page.
- Locate the newly created tool in the list and click on the View configuration details icon (magnifying glass or list icon) next to the tool.

-
In the Tool configuration details window, note down the following information that you will need to provide to the LTI Tool administrator:
- Platform ID
- Client ID
- Deployment ID
- Public keyset URL
- Access token URL
- Authentication request URL

- Share this information with the AOM platform administrator so they can complete the LTI Tool connection setup.
AOM final steps
- Once you have received the platform configuration details from the Moodle LMS administrator, you will have all the necessary information to complete the platform registration. Add the information as follows:
| Field | Value |
|---|---|
| Issuer/Platform ID | As provided by Moodle LMS admin (Platform ID) |
| Client ID | As provided by Moodle LMS admin |
| Public Keyset / JWKS URL | As provided by Moodle LMS admin (Public keyset URL) |
| OIDC Login endpoint/ Auth endpoint | As provided by Moodle LMS admin (Authentication request URL) |
| Access token URL | As provided by Moodle LMS admin |
| Deployment ID | As provided by Moodle LMS admin |
- For configuring the remaining settings of the LTI Tool, consult our LTI 1.3 guide.
- Once finished, click on Update Platform.
- The external platform has now been successfully connected, and users on the external platform will be able to add & launch the content that you configured.
Self-hosted vs Cloud Moodle considerations:
For self-hosted Moodle instances, all the URLs provided in step 17 will be based on your custom domain (e.g., https://yourdomain.com/moodle/mod/lti/...).
For MoodleCloud instances, the URLs will follow the pattern https://yoursite.moodlecloud.com/mod/lti/... where "yoursite" is your MoodleCloud subdomain.
The configuration process remains the same regardless of hosting type, but ensure you use the correct URLs that match your Moodle installation.
Adding External Content on Moodle LMS (Deep Linking Flow)
For site administrators and teachers that are creating courses in Moodle LMS.
- In your Moodle course, click on Turn editing on at the top right of the page.
- In the section where you wish to add external content, click on Add an activity or resource.

- In the Activity chooser, select External tool from the list of activities.

- Click the Select content button to launch the external content selector.
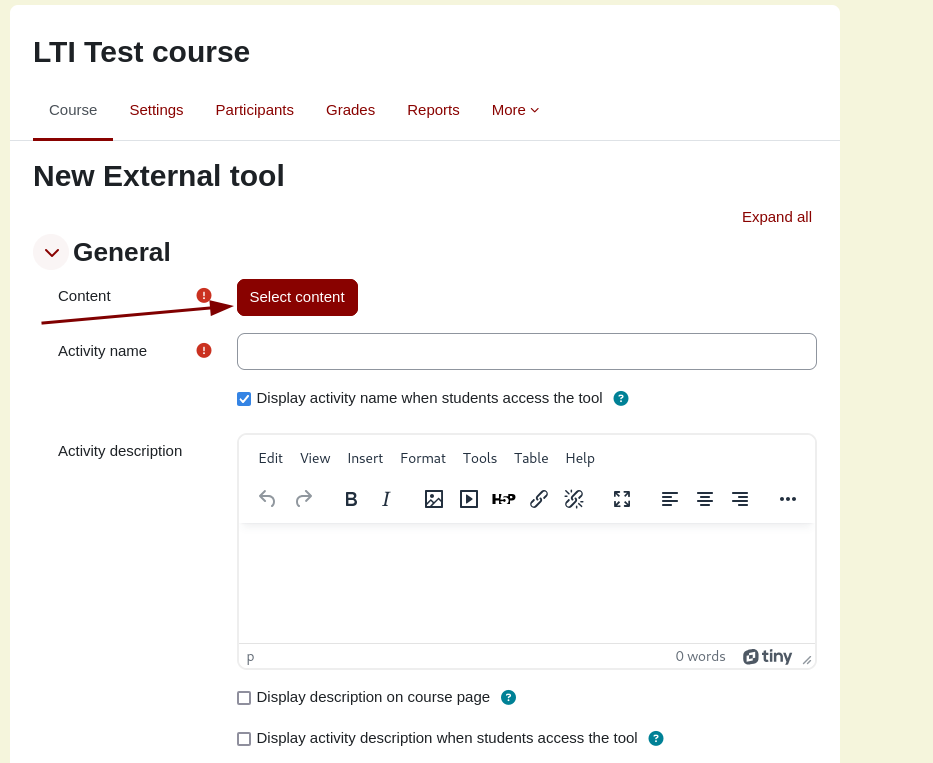
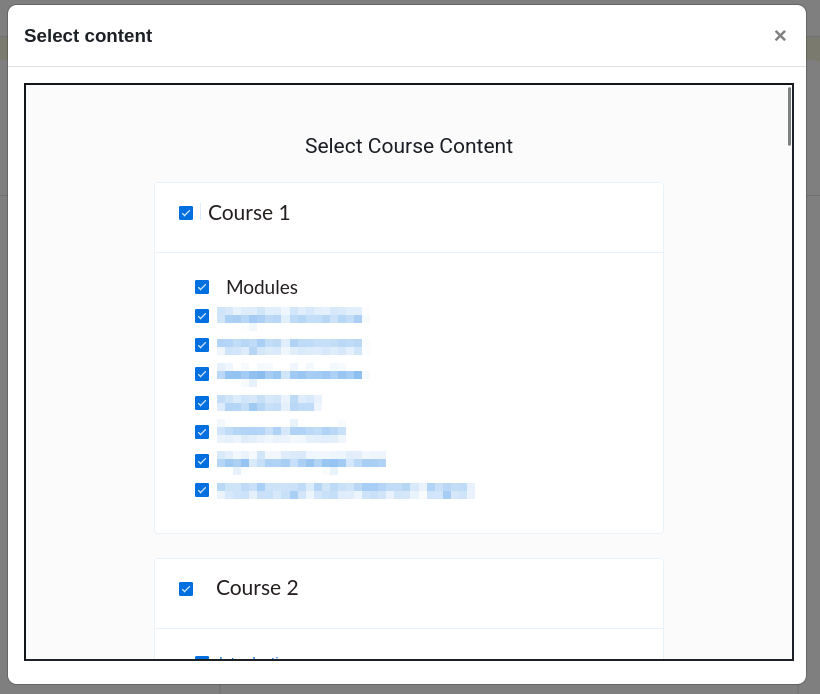
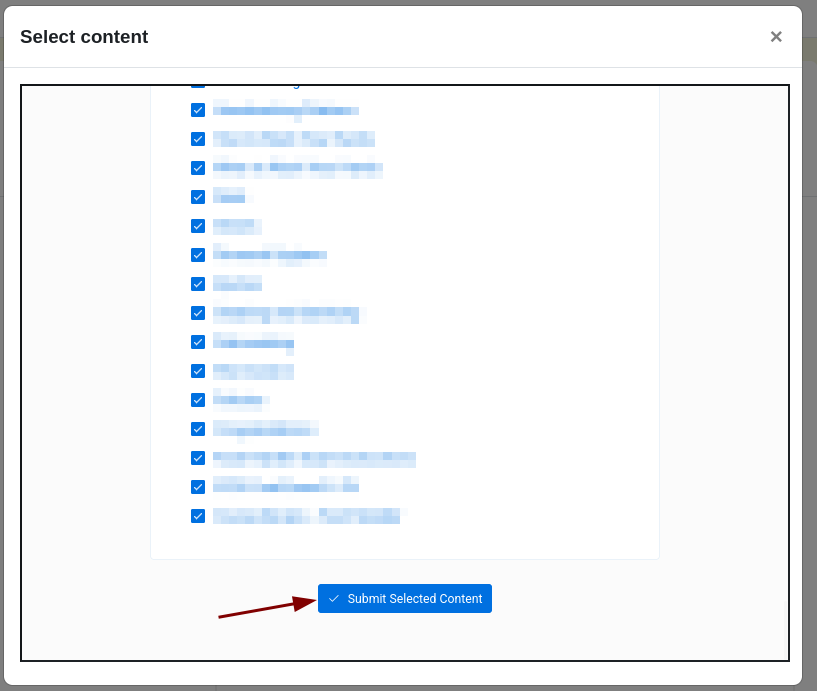
- This will launch the external content selector in a modal window. You will see a list of courses that have been enabled, and can choose to select entire courses, or only some modules. Once you have selected your modules, click on the Submit Selected Content button.
-
After selecting content, provide an Activity name and Activity description for your activity.
-
Configure any additional settings as needed, such as:
- Grade settings (if grade sync is enabled)
- Activity completion criteria
- Restrict access conditions
-
Click Save and return to course.
-
You should now have a new external tool activity in your course that is linked to the selected AOM content.
Launching External Content
When learners launch the content, they will be presented with a launch course screen first.

Once they launch the course, they will see the external modules that were selected during the deep linking process.
For Instructors: Once the LTI tool is configured at the site level, instructors can add AOM content to their courses without needing administrator assistance. They simply need to add an External tool activity and select the preconfigured AOM tool type.